Stop sacrificing your walkway. Learn the real dimensions to shop for slim-depth, low-profile sofas, consoles, media units, and tables—plus clearance targets ...
Fold-Away Desk Setup for a Multi-Use Living Room

Published · Last updated
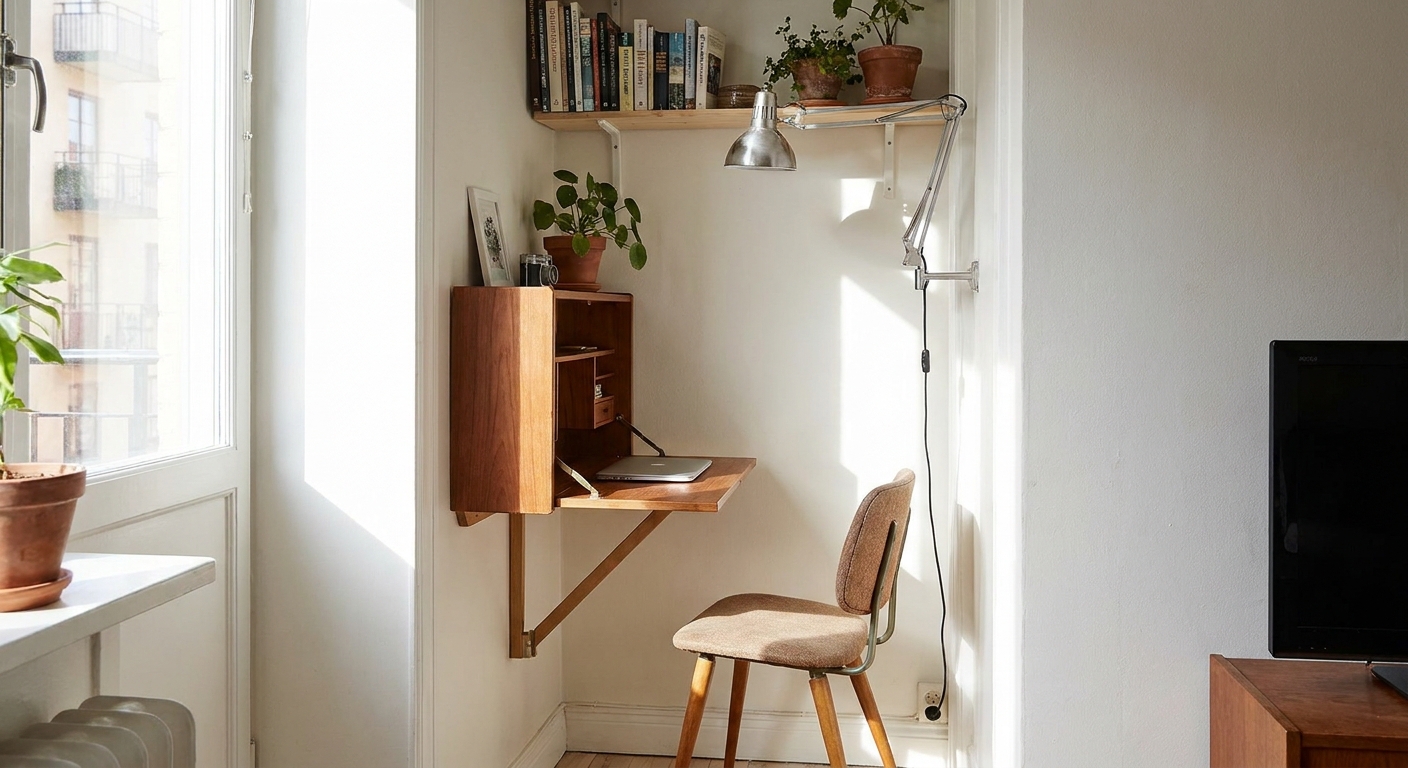
My favorite kind of home office is the one that lets you close it up and pretend it never happened. In my tiniest studio apartment, my “desk” was the edge of a table I also ate dinner on, and I was constantly packing up my laptop just to feel like I had a living room again. A wall-mounted folding desk with a drop-leaf top was the first setup that truly gave me both: a spot to work, and a room that still felt like a room.
This guide walks you through choosing the right fold-away desk, installing it safely, and setting it up so you can open, work, and close in under a minute.
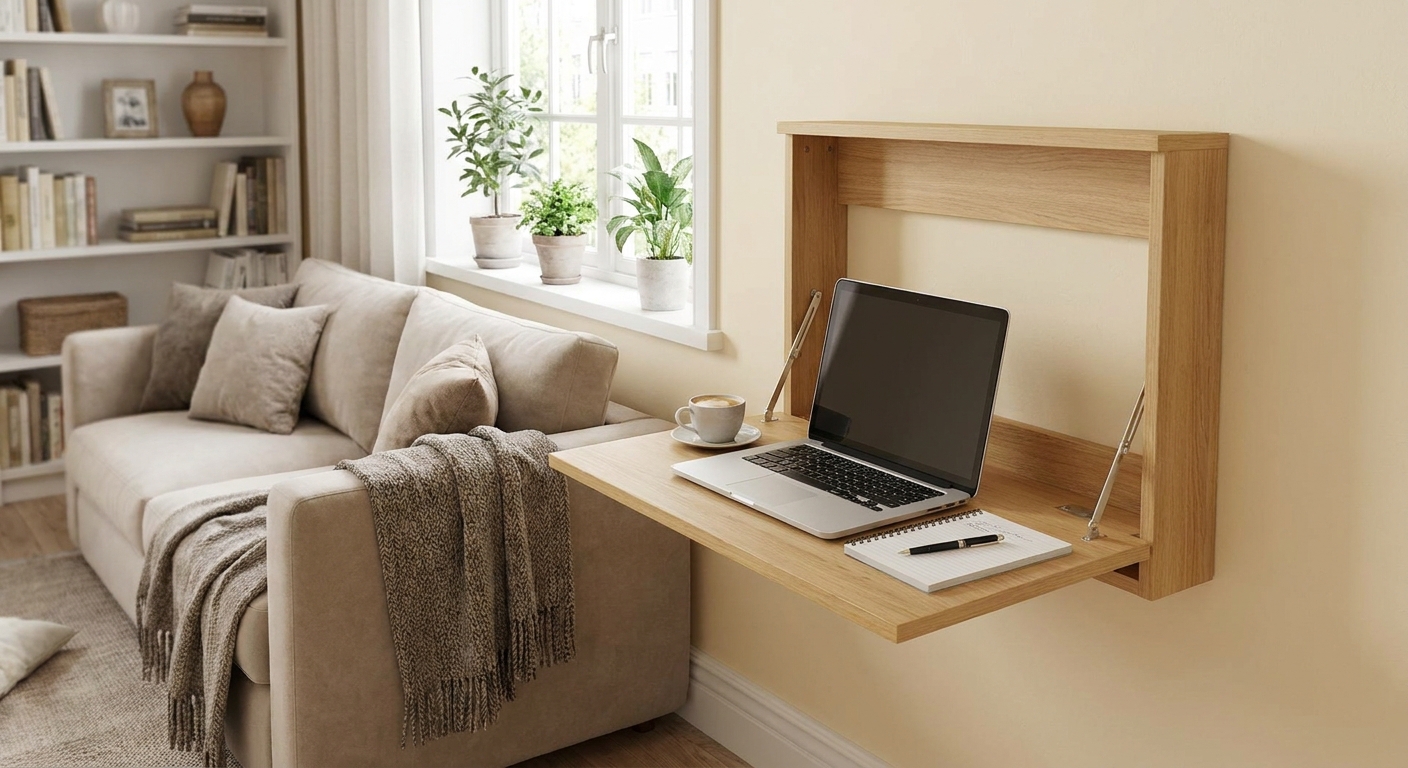
Step 1: Pick the right spot
The best desk location is rarely the most obvious one. You are looking for the calmest wall you have, meaning a place that can handle daily traffic without turning your workspace into an obstacle course.
Quick location checklist
- Clear swing space: You need enough room for the leaf to fold down and for you to sit comfortably. If the desk opens into a main walkway, it will feel annoying fast.
- Access to power: Ideally within reach of an outlet so you are not running a cord across the room.
- Decent light: Natural light is lovely, but avoid glare directly behind your screen. If you are trying to brighten a dim corner, our tips on mirror placement for more natural light can help.
- Wall reality: Know what you are mounting into (wood studs, metal studs, plaster, brick, concrete). The best desk in the world will feel sketchy if it is not fastened the way the manufacturer specifies for your wall type.
- Noise reality: If your living room is also where kids watch TV, consider a spot where your chair faces away from the action. It reduces distractions.
My real-life rule: if the desk would block a closet door, a balcony door, or the path to the sofa, keep looking. The fold-away part only helps if folding it away is actually easy.
Step 2: Choose the right size
Quick definition, because shopping terms get messy: a wall-mounted folding desk is the category. A drop-leaf is the fold-down work surface (the “leaf”). Most listings use these terms interchangeably.
These desks can look identical online, but a few small differences decide whether it feels sturdy and usable, or like a temporary shelf.
What to measure before you buy
- Desk width: Measure the wall span you can dedicate.
- Desk depth (open): For laptop-only tasks, many people feel comfortable around 16 to 20 in deep. If you handwrite a lot, aim closer to 20 in so your wrists are not hanging off the edge.
- Desk depth (closed): In a living room, a slim profile helps it blend in and prevents bumped elbows.
- Chair clearance: As a rule of thumb, try to reserve about 24 in behind the desk edge for you to sit and scoot in and out. If that is tight, plan on a chair that tucks away easily.
Features that make life easier
- A secure closure: You want it to stay closed when bumped by a dog tail or a kid racing by.
- Rounded corners: Especially if the desk sits near a walkway.
- Built-in cubbies (optional): Great for paperwork, but only if you can keep them from becoming a clutter display.
- A stated weight rating: Check the manufacturer’s capacity and note what it assumes for installation (studs, masonry anchors, specific fasteners). If you type with a heavy hand or lean while thinking, sturdiness matters more than style.
If you are balancing the desk with other room needs, it can help to revisit your overall small space strategy. I keep a bunch of the “works in real life” ideas in our Small Spaces guide.
Step 3: Set the height
A folding desk installed at the wrong height is a daily annoyance. Too high and your shoulders creep up. Too low and you hunch.
A simple way to find your height
- Sit in the chair you will actually use.
- Relax your shoulders.
- Bend your elbows naturally at about 90 degrees.
- Measure from the floor to where your forearms feel comfortably supported.
That measurement is your best starting point for the desktop surface. As a quick sanity check, many standard desks land around 28 to 30 in high (71 to 76 cm), but your chair height and body proportions matter more than any “standard.”
Check your seat setup too
- Feet flat: You want your feet flat on the floor when you are typing. If your chair has to be higher to make the desk comfortable, add a small footrest.
- Screen height: If the desk surface is low (common with wall-mounted desks), a laptop stand or a couple of sturdy books can save your neck.
Do not forget the baseboard
If you have tall baseboards, the desk may not sit flush against the wall. Some designs account for this, others do not. Measure baseboard height and thickness so you are not surprised mid-install.
Step 4: Install it safely
I am all for a confident DIY weekend, but wall-mounted desks are not the place to wing it. You will be putting real weight on it, repeatedly.
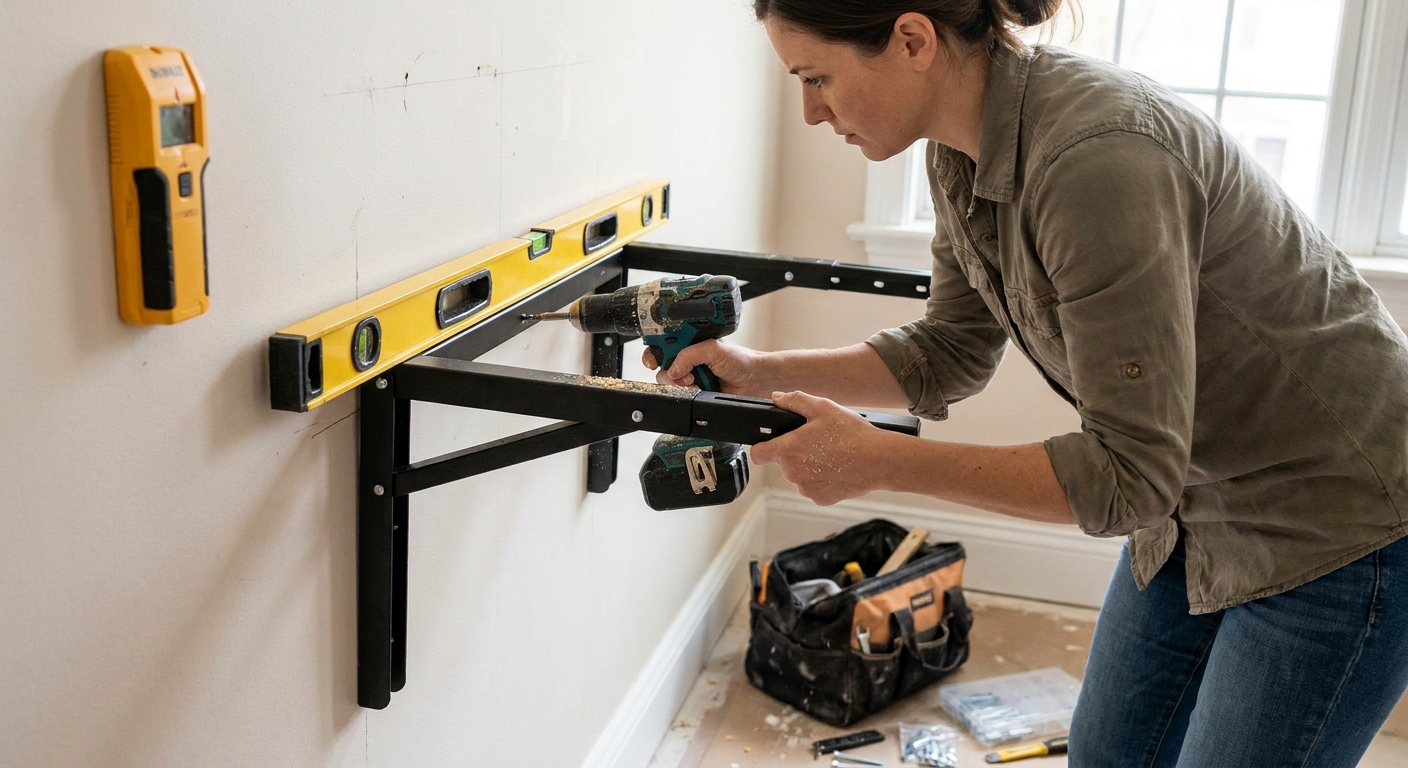
Tools you will likely need
- Stud finder (and a strong magnet can help confirm fastener locations)
- Level
- Tape measure
- Pencil
- Drill and appropriate drill bits
- Screwdriver
- Hardware appropriate for your wall type and the desk’s mounting holes
Installation steps
- Read the manufacturer instructions first: Before you drill anything, confirm the required fasteners and what wall types the desk is rated for. The stated weight capacity usually assumes installation exactly as directed.
- Find structure and mark it: In most homes, the most confidence comes from fastening into studs at as many mounting points as the design allows. If you have masonry, plaster, or metal studs, use the manufacturer’s specified anchors and methods, or bring in a pro for peace of mind.
- Mark the height line: Use your height measurement from Step 3 and mark a level line where the desk’s mounting rail or brackets will sit.
- Dry fit everything: Hold the desk (or mounting rail) in position and confirm clearance for folding down, chair placement, and nearby furniture.
- Pre-drill: Pre-drilling helps prevent splitting in wood and helps screws drive straighter.
- Mount and level-check again: Tighten hardware securely, then recheck level before final tightening.
- Test the hinge action: Open and close the leaf several times. It should feel smooth, not forced.
- Do a gentle weight test: Press down gradually with your hands where you would normally type. If there is wobble, address it now, not after you have a laptop perched there.
Household note: If you have kids, teach a “desk is not a climbing toy” rule early. A fold-down surface is tempting in the worst way.
Step 5: Help it blend in
The magic of a fold-away desk is psychological as much as physical. When your work is out, your brain stays “on.” When it is tucked away, the room feels restful again.
Make it read like decor
- Treat the closed desk like a wall element: If it has a front panel, keep it visually calm. A neutral finish or wood tone often feels intentional in a living room.
- Anchor it with nearby styling: A plant, a floor lamp, or a small piece of art nearby helps it read as part of the room.
- Keep the office stuff hidden: The fewer items you see when it is closed, the better it works as living room furniture.
If your living room already feels tight, pair this with small-space visual tricks like lighter wall colors. Our roundup of paint colors that make a small room look bigger has good starting points.
Step 6: Build a one-minute routine
The difference between “I love my fold-away desk” and “I never use it” is friction. Your goal is to open the desk and get working with as few steps as possible.
The core kit
- Laptop and charger
- One pen you like
- One notebook or notepad
- Headphones
- A small microfiber cloth for screens
Where the stuff should live
- Inside the desk (only if it closes safely): If your desk has interior storage, you can keep the essentials inside. Avoid overfilling. A desk that will not close cleanly becomes a permanent mess.
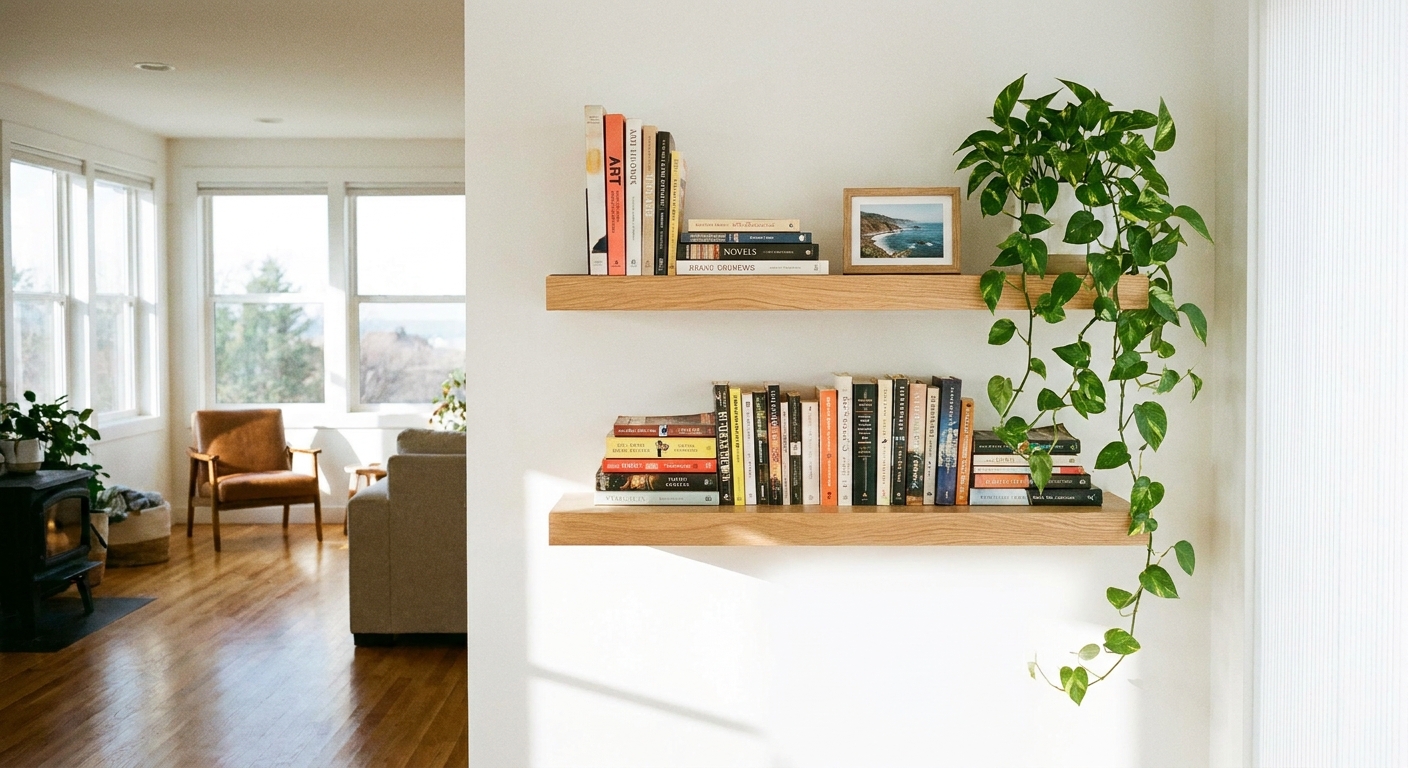
- On the wall above: A slim shelf or wall pocket can hold lightweight items without stealing floor space. If you want to expand vertical storage in general, you will like our approach to styling floating shelves without losing floor space.
- In a grab-and-go desk bin: I love a dedicated bin that lives in a nearby cabinet. It turns setup into one trip.
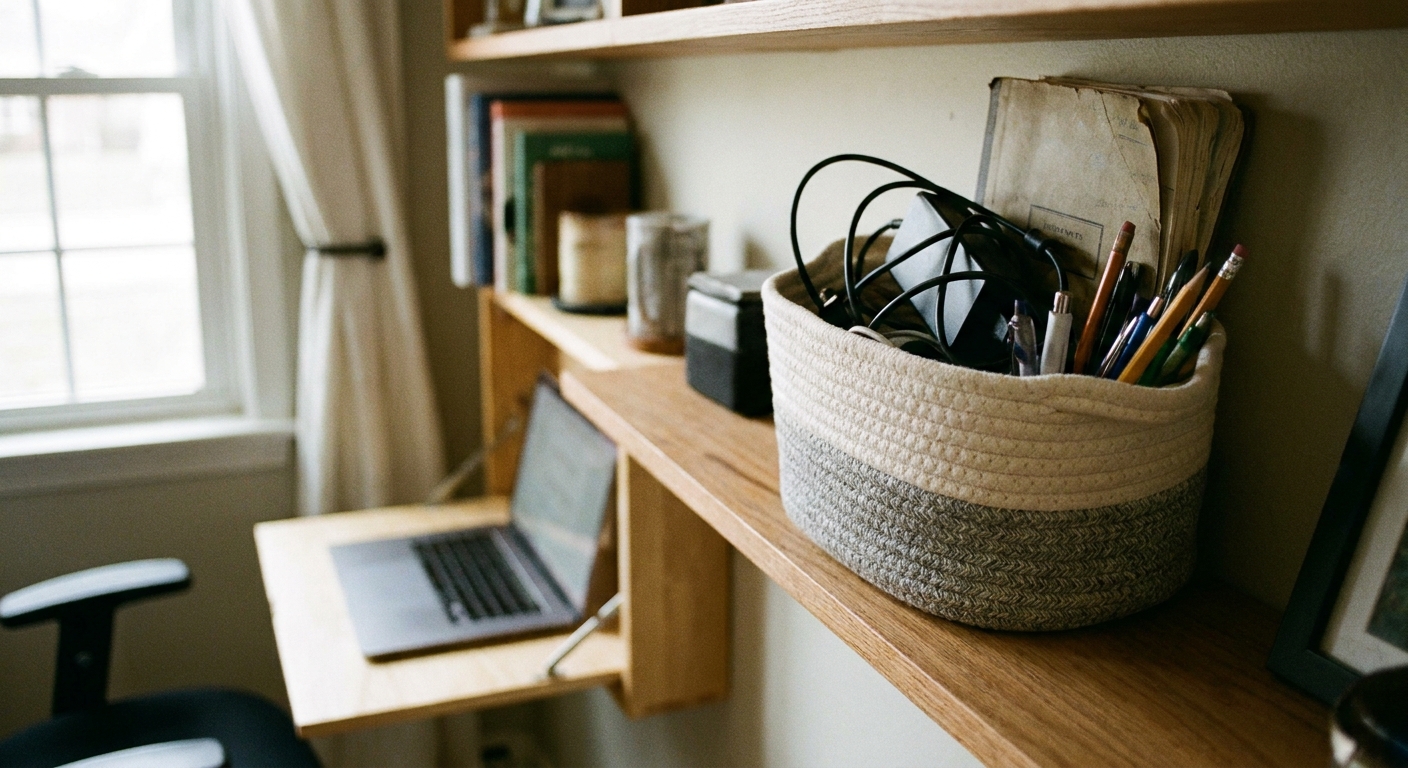
If you want a simple DIY bin, our sewing tutorial for a fabric organizer works well as a desk kit container: DIY fabric storage basket for shelf clutter. If you prefer a printable pattern, Maord has a ready PDF in two formats: Fabric Storage Basket (A4) and Fabric Storage Basket (Letter).
My closing routine
- Unplug laptop and coil cord.
- Put laptop, charger, notebook, and pen into the desk bin.
- Wipe the surface quickly.
- Fold up and latch.
This is the part that protects your living room vibe. It is also what keeps papers from migrating across the sofa like they own the place.
Step 7: Tidy the cables
Cables are what give away a living-room office instantly. The good news is you only need a few small habits to keep them under control.
- Hide the power strip: If your desk design allows, mounting a power strip to the underside or inside compartment keeps cords contained. If not, hide it in a nearby cabinet.
- Use one desk charger: If possible, keep a dedicated charger at the desk so you are not constantly borrowing from another room.
- Shorten what you can: Excess cord length becomes visual clutter and a tripping hazard.
- Keep a single clip or tie in your desk bin: That one tiny tool saves so much tangling frustration.
Common problems and fixes
“It wobbles when I type.”
- Re-check that the mounting hardware matches the manufacturer instructions for your wall type.
- If your model is designed to hit studs, confirm you are catching them where possible and that screws are fully tightened.
- Make sure the desk is level. A slight tilt can exaggerate movement.
- If the desk uses folding brackets, confirm they lock firmly into place.
“My chair has nowhere to go.”
- Choose a chair that can slide under a console table or tuck into a corner.
- Consider a folding chair with a comfortable seat, then store it in a closet when not in use.
- If you need to reclaim floor space, revisit furniture layout and rug sizing. A surprising fix is adjusting the rug footprint. Our area rug size and placement rules can help you re-balance the room.
“It turns into a dumping zone.”
- Give every desk item a home that is not the desktop.
- Keep a strict “no mail” rule. Mail is the fastest clutter multiplier.
- Do a weekly two-minute reset before you fold it away for the weekend.
“The desk makes the room feel smaller.”
- Choose a desk finish that matches your wall or nearby furniture tones.
- Keep what is visible very minimal. One small object is decor. Five small objects is clutter.
- Add one nearby element that draws the eye up, like a slim piece of art.
A simple layout trick
If you are trying to fit office life into family life, this zoning trick helps: create a “work edge” and a “rest center.”
- Work edge: Fold-away desk, chair, lamp, and your desk bin all live on one wall.
- Rest center: Sofa and coffee table stay oriented to comfort, not productivity.
Even in a small room, that mental separation reduces stress. If you are also building systems for everyday clutter, you might like my step-by-step approach to planning a small entryway drop zone. The same logic applies: give the daily chaos one dedicated home.
My bottom line
A functional fold-away desk is not about squeezing a full office into your living room. It is about creating a workspace that supports your day, then disappears so you can actually relax in your own home.
Focus on three things and you will get it right: install it the way the manufacturer intends for your wall type, set a comfortable height, and keep a small desk kit that makes setup and takedown effortless. Everything else is a bonus.