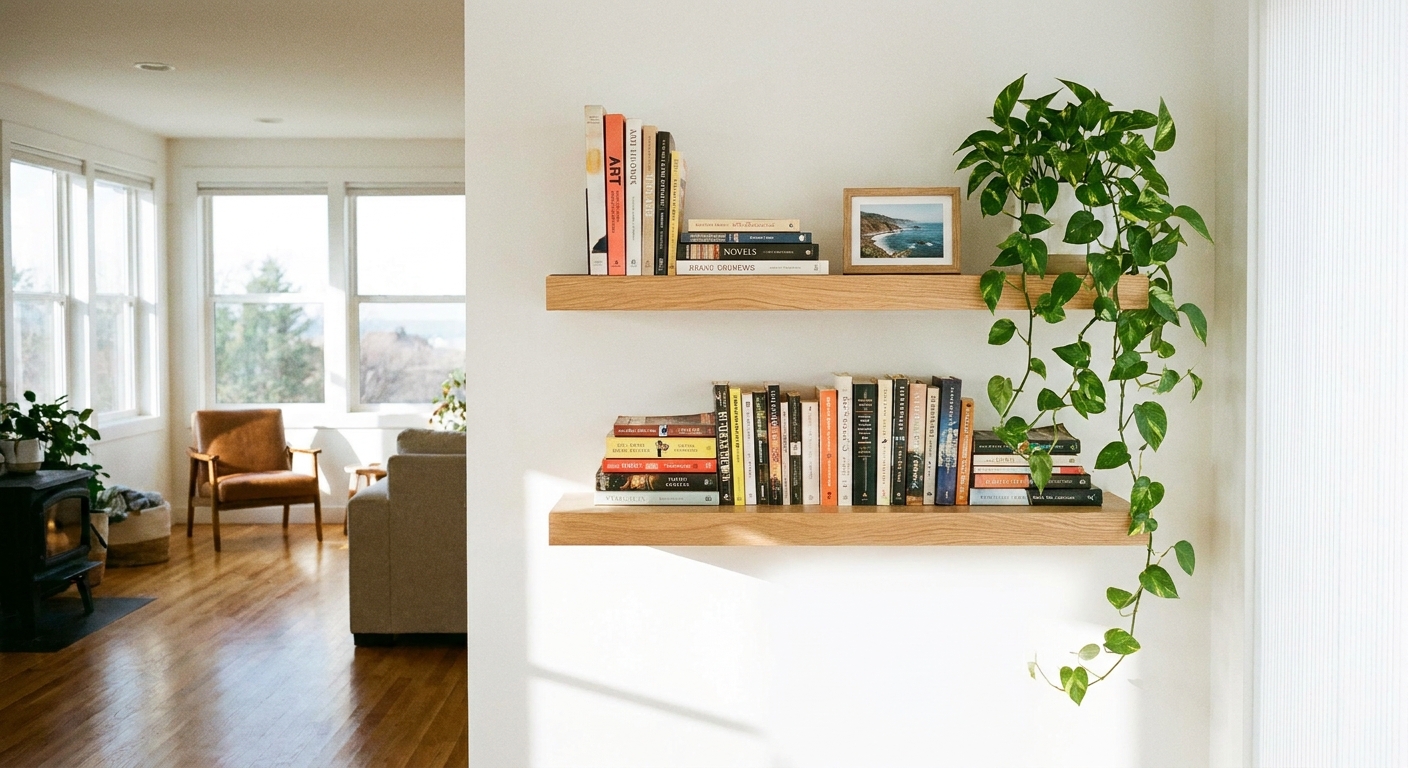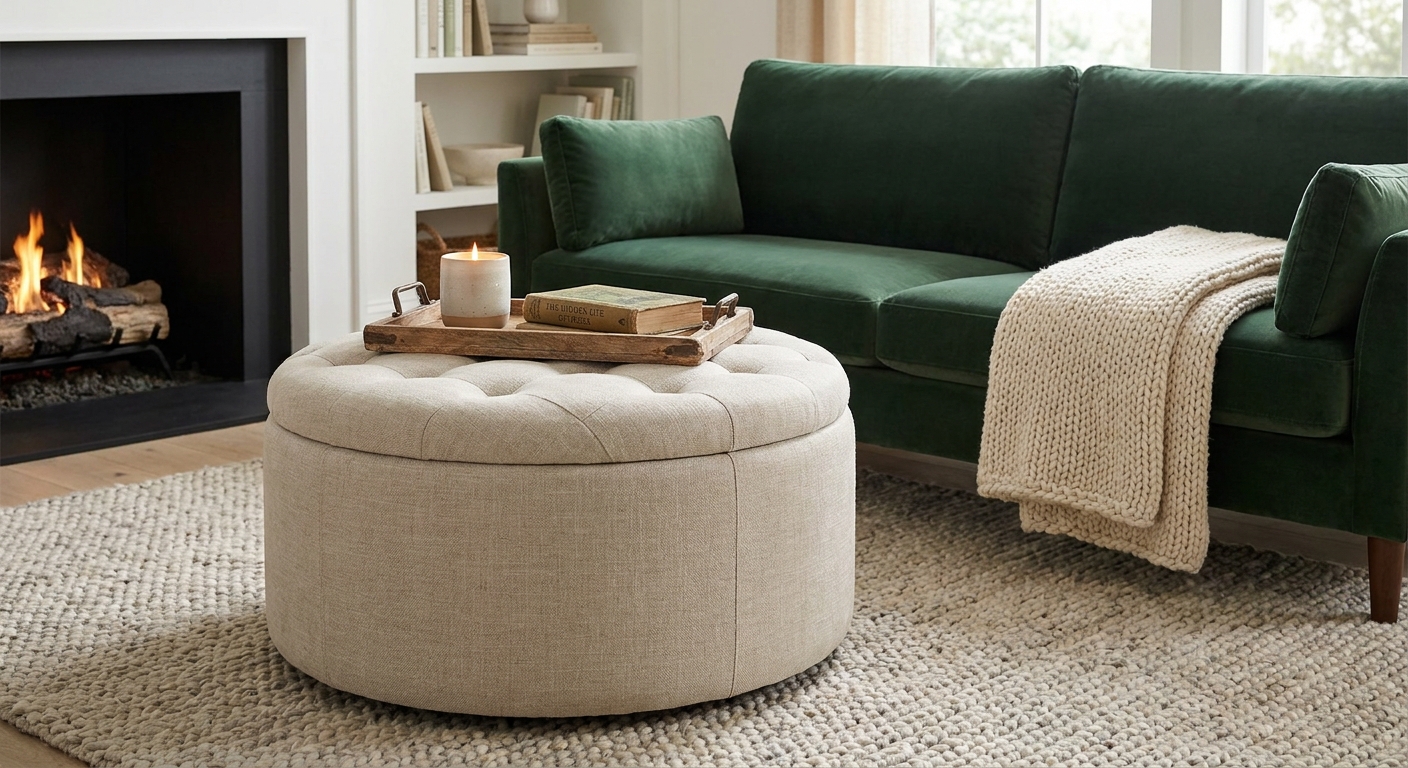
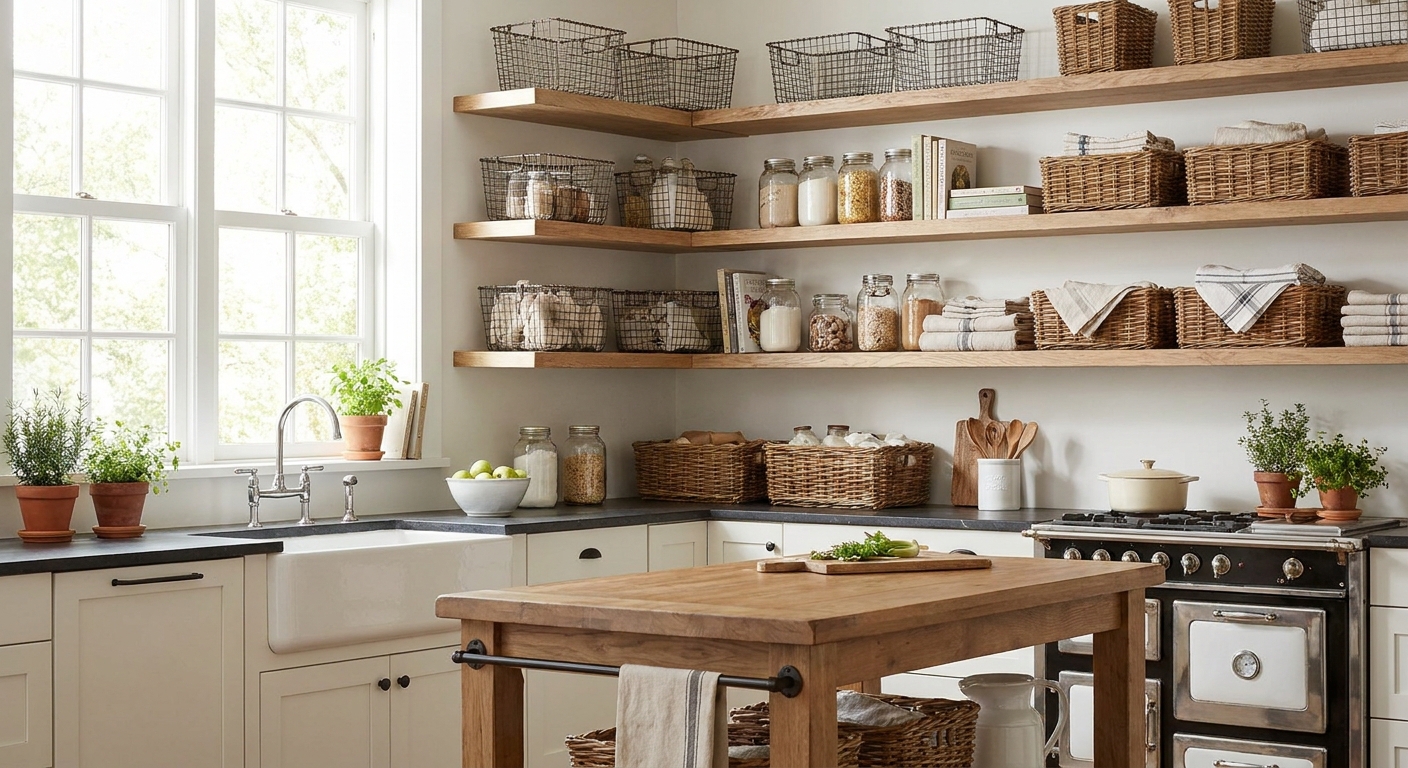
Keep open farmhouse shelves looking calm with a simple wire-and-wicker system. Learn what each basket type does best, how to measure and zone shelves, and re...
DIY Fabric Storage Basket for Shelf Clutter

Published · Last updated
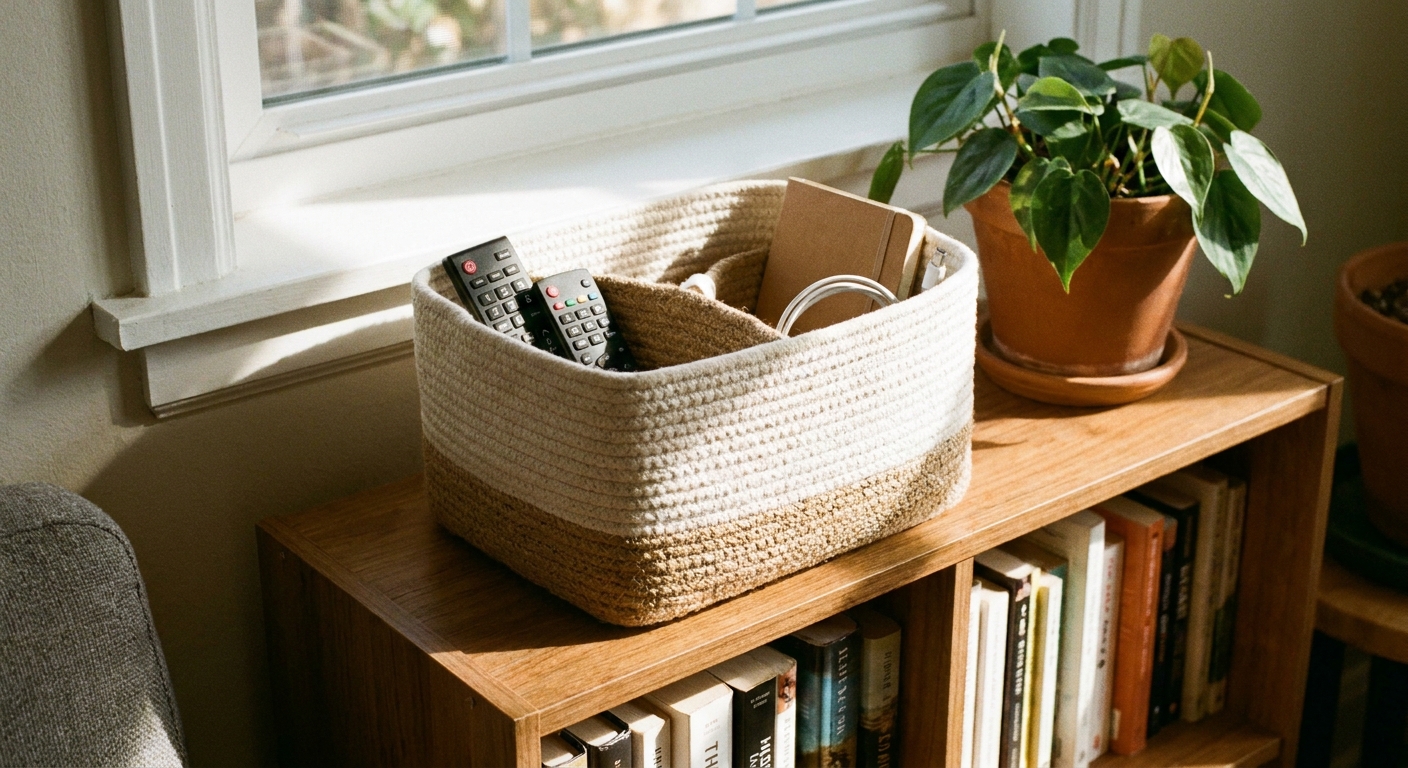
There is a very specific kind of mess that makes a room feel instantly smaller: the “little stuff” pile. Remote controls, chargers, dog leashes, half a deck of cards, spare batteries, and that one toy your kid swears is essential. In my tiny-apartment years, I learned that if I could corral the loose bits on a shelf, the whole space looked calmer in minutes. A structured fabric basket is one of my favorite ways to do it because it is soft, pretty, and quieter than hard plastic.
Today I am walking you through a simple, sturdy fabric storage basket you can sew in a few hours (an afternoon for most confident beginners). It is sized to slide onto shelves and media consoles (finished size: 8 in wide × 4 in deep × 6 in high), and it is structured with fusible interfacing so it stands up on its own.
Why this works on shelves
When you are organizing open shelving, you are really managing visual noise. Baskets help, but a floppy basket can look rumpled fast. A structured basket holds its shape and gives your shelves clean lines.
- It hides clutter without hiding access. You can toss items in quickly and still find what you need.
- It looks intentional. Fabric and pattern read as decor, not storage.
- It is gentle on shelves. It typically will not scrape or rattle when you pull it in and out.
- You can customize it. Match your room colors, go neutral, or add a playful print for kids’ spaces.
If you are building a more cohesive look room by room, our Home Decor guide has practical ideas for making storage blend in instead of sticking out.
Free printable pattern
You can use Maord’s ready Fabric Storage Basket pattern in either paper size:
The pattern includes the cut sizes and a corner cut-out guide. The seam allowance is included at 0.375 in.
Materials and fabric picks
What you need
- Outer fabric: 1/2 yard woven cotton (42 in usable width)
- Lining fabric: 1/2 yard woven cotton (42 in usable width)
- Fusible interfacing: 1/2 yard medium-weight, at least 26 in wide (this is fused to the outer fabric only)
- Thread
- Ruler or measuring tape
- Clips or pins
- Iron and ironing surface
- Sewing machine (or a very patient you, if hand sewing)
If you plan to wash the basket later, consider prewashing and drying your fabrics first to handle shrinkage up front. Follow your interfacing manufacturer’s care instructions for fusing and laundering since brands vary.
Fabric choices that look like decor
If your goal is to make shelf clutter disappear, a busy novelty print can sometimes do the opposite. A few options that tend to look elevated:
- Small-scale prints (gingham, pinstripe, tiny florals) that read as texture from across the room
- Wovens with slub or linen-like texture for a softer, grown-up feel
- Solid outer with patterned lining for a little surprise when you grab something
If you love a cozy rustic look, you may also enjoy our Farmhouse Style guide for easy ways to keep storage feeling warm and intentional.
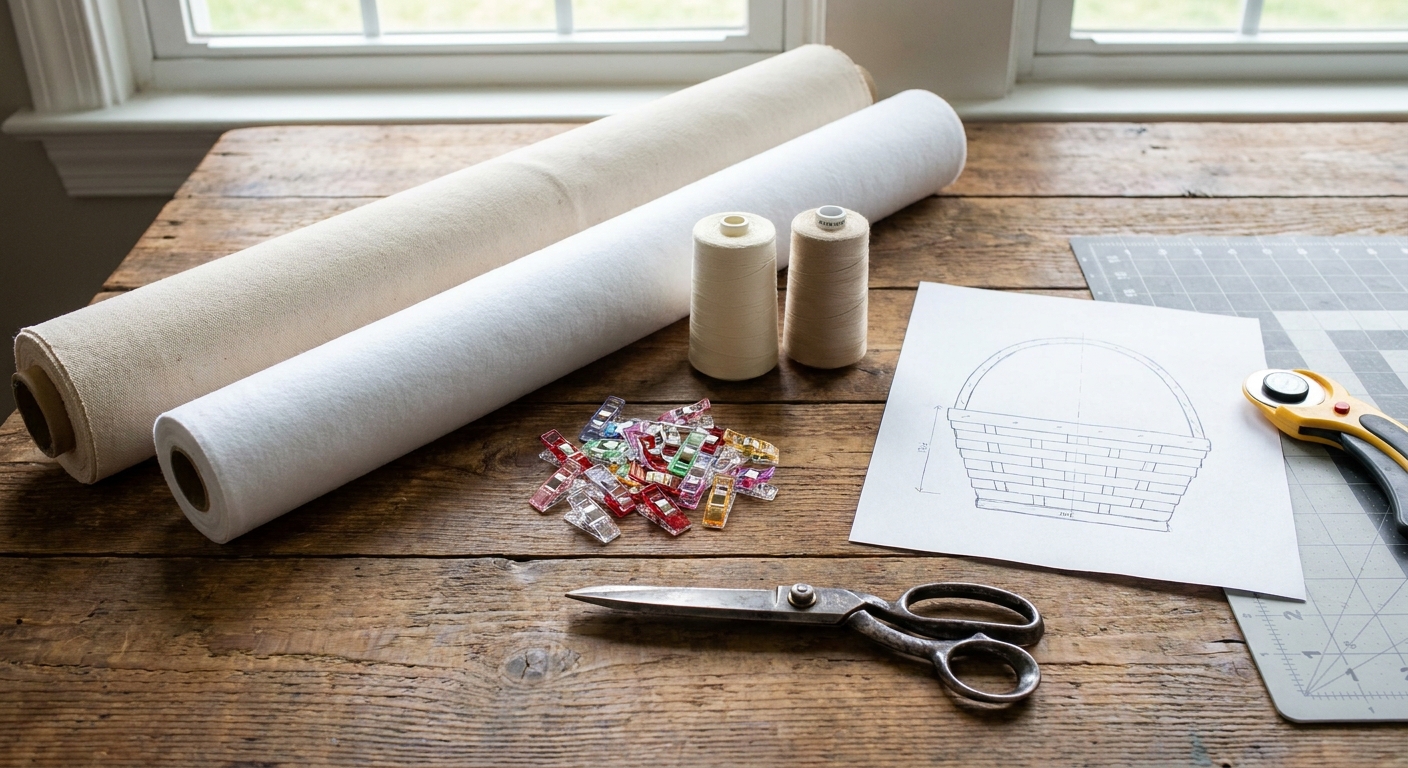
Cutting measurements
You can sew this basket using measurements only. Cut the following rectangles:
- Basket outer: cut 2 rectangles, 12.75 in × 8.75 in
- Basket lining: cut 2 rectangles, 12.75 in × 8.75 in
- Basket interfacing: cut 2 rectangles, 12.75 in × 8.75 in
Then you will cut out 2 in × 2 in squares from the bottom corners of all four fabric rectangles (and the interfacing once fused). Important detail: measure those squares from the raw edges, not from a seam line.
How to sew the basket
A standard straight stitch works well here. If you like specifics, a universal 80/12 needle and a typical stitch length (around 2.5 mm) are a solid starting point for quilting cotton.
1) Fuse the interfacing
Fuse the interfacing to the wrong side of both outer fabric rectangles. Let the pieces cool flat after fusing so the structure stays crisp.
2) Mark and cut the corner squares
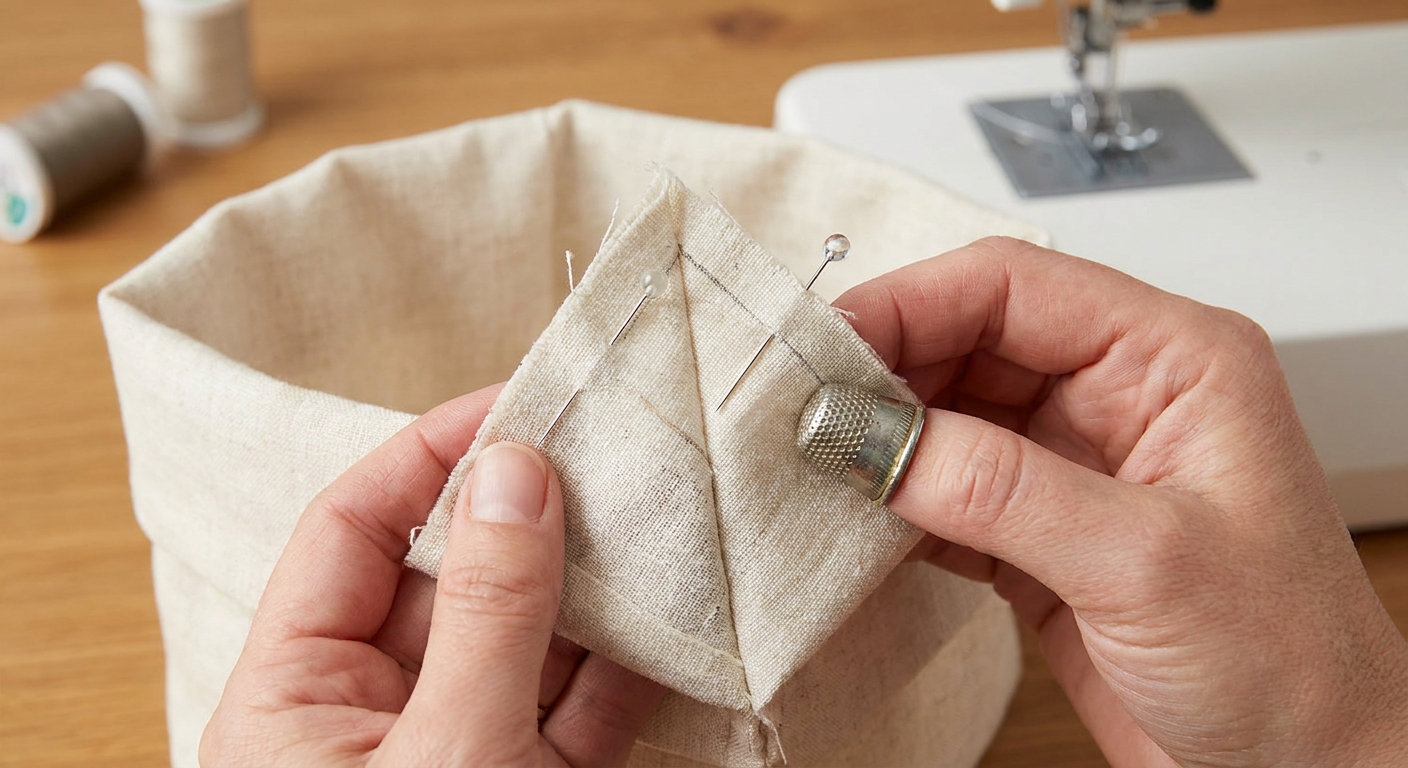
On both outer pieces (after fusing) and both lining pieces, mark a 2 in × 2 in square at each bottom corner, measured from the raw edges. Cut the squares out.
3) Sew the outer basket
Place the two outer pieces right sides together. Sew the two side seams and the bottom seam with a 0.375 in seam allowance, stopping at the cut-outs. Backstitch at the start and stop of each seam for durability. Press seams open. Leave the top open.
4) Box the corners (outer)
Pinch one cut-out open so the side seam and bottom seam match up. Sew straight across the raw edge of the cut-out at 0.375 in. Repeat for the other corner. This creates a 4 in base depth.
5) Sew the lining (leave a turning gap)
Repeat the same steps for the lining, but leave a 3 in turning gap in the middle of the lining’s bottom seam.
6) Attach lining to outer
Turn the outer basket right side out. Keep the lining wrong side out. Place the outer inside the lining so right sides are together. Match side seams and sew around the top rim at 0.375 in.
7) Turn, close the gap, and topstitch
Turn the basket right side out through the gap in the lining. Fold the gap edges inward by the seam allowance and stitch closed. Nest the lining inside the basket, press the rim, and topstitch around the top about 0.125 in below the edge.
This pattern does not include handles or a fold-over cuff, which keeps the shape clean for shelves and makes it easy to slide in and out.
Best uses (and not for heavy loads)
I reach for baskets like this in places where I want a room to feel calm fast:
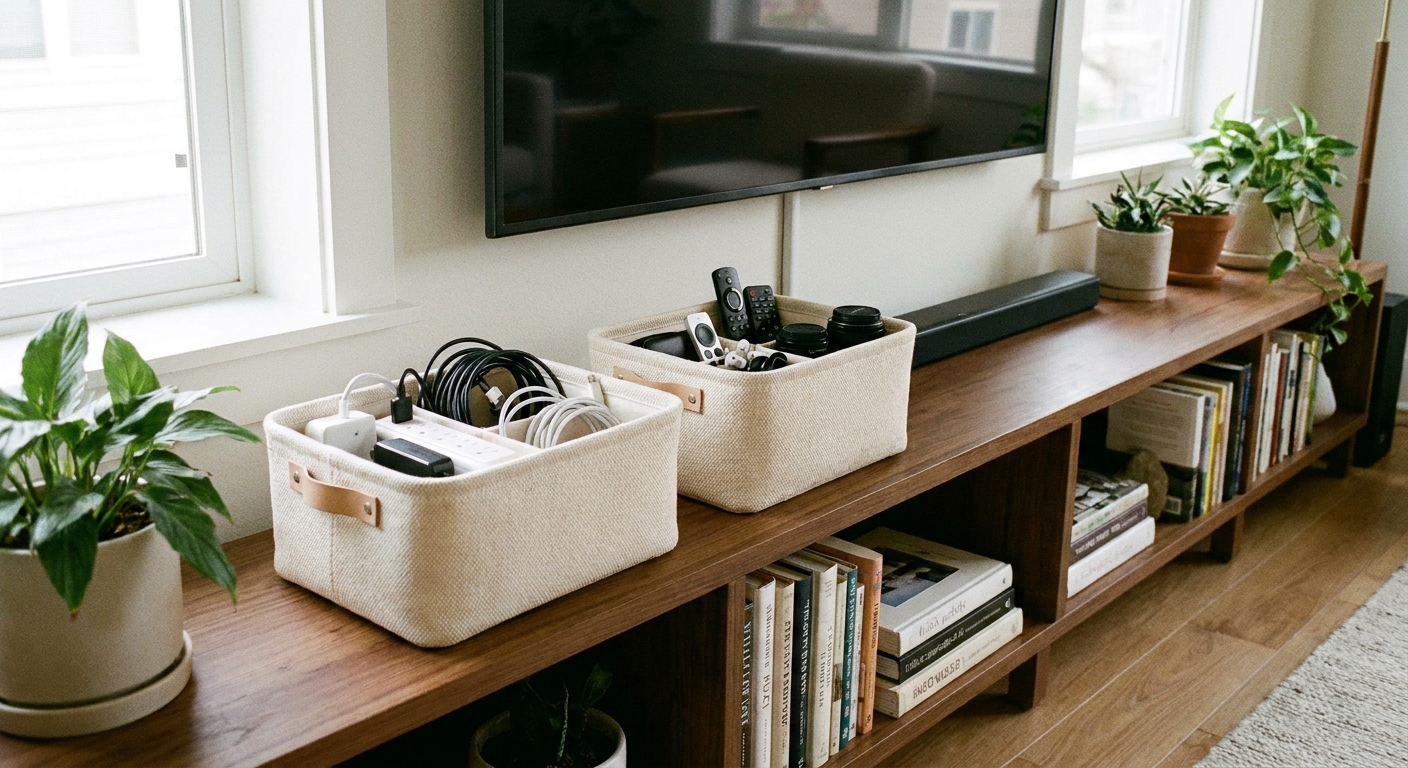
- Media console: remotes, game controllers, charging cords
- Bookcase: candles, matches, pens, small notebooks
- Kid shelf: small toys that migrate daily
- Bathroom shelf: hair accessories, extra toiletries (use washable fabrics)
- Entryway drop zone: sunglasses, dog bags, spare keys (if you have an entry shelf)
A quick safety note: this is a fabric organizer, not a load-rated carrier. I would not use it to haul heavy bottles or as a tote. For entryway clutter, I like pairing a basket system with a simple routine. If your front door area is a daily hot spot, see How to Plan a Small Entryway Drop Zone.
Make it look custom
Match the basket to the shelf
If you pick a basket fabric that works with the shelf and wall color, it will look built in, even if what you are hiding inside is a jumble of chargers.
Use a darker lining
If the basket will hold crayons, makeup, or anything with ink potential, a medium or darker lining hides stains better than white.
Batch sew a set
In my house, the magic is repetition. Two to four matching baskets across a bookcase can make it look styled, even if the rest of the shelf is practical. If you are working with tight square footage, our Small Spaces guide has more ideas for making storage feel like decor.
Troubleshooting
My basket looks twisted
This is usually a cutting issue or a corner boxing mismatch. Double-check that your corner squares were measured from the raw edges, and that you matched the side seam to the bottom seam before sewing across the corner.
My interfacing is bubbling
Make sure you are using the right heat setting for the fabric and interfacing, and press (hold and lift) rather than sliding the iron around. Let it cool flat so the glue sets smoothly.
The lining keeps popping up
Two fixes help most: press the rim very firmly and topstitch close to the edge. That topstitch is not just decorative, it helps the basket keep its shape.
Quick care tips
- Spot clean first when possible to keep the structure crisp.
- If you wash it, follow the interfacing care guidance and air dry when you can.
- Reshape while damp and press once dry to bring the edges back.
A basket like this is one of my favorite small wins because it makes your shelves feel finished without requiring a whole weekend overhaul. You get a calmer room and a reliable home for the loose stuff that shows up every single day.