
Styling Floating Shelves Without Losing Floor Space

When I lived in my tiniest studio, I learned a humbling truth: the floor is not an endless resource. Every basket, plant stand, or “temporary” side table I added made the room feel tighter. Floating shelves were my loophole. They gave me display space and storage without turning my walking path into an obstacle course.
If you want your home to feel taller, calmer, and less cluttered, wall-mounted shelves are one of the highest-impact changes you can make. Here is how to plan them, install them safely, and style them so they look intentional instead of like a crowded little yard sale in midair.
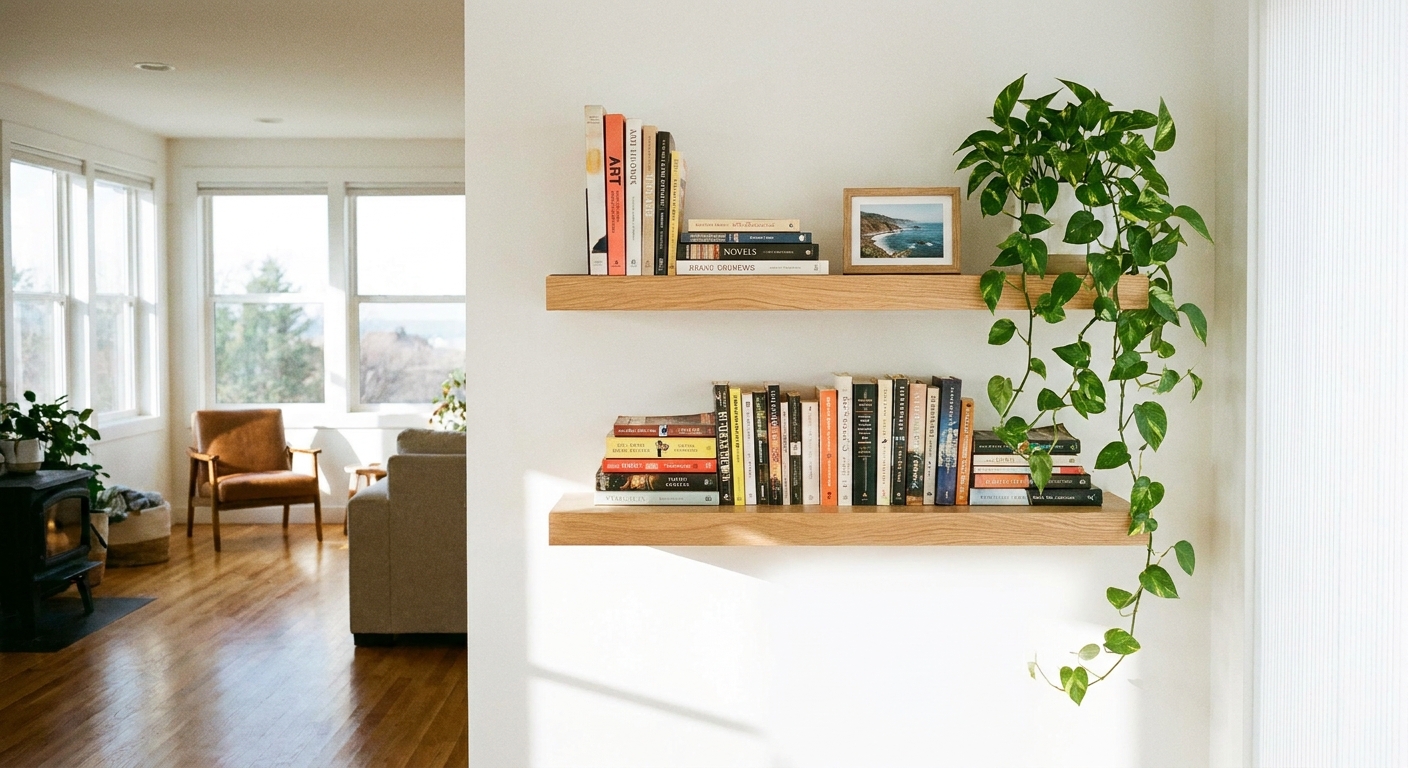
Why floating shelves work in small spaces
In a small room, floor space is visual space. Keeping it open makes the whole area feel more breathable, even if you do not remove a single item from your home.
- They draw the eye up. Your room feels taller when the decor is not all clustered at waist height.
- They relieve pressure on countertops. A shelf can hold the “pretty” items that otherwise eat up usable workspace.
- They create zones. A couple of shelves can make a tiny dining nook or desk corner feel like its own destination.
- They can be both storage and decor. The best shelves earn their keep.
If you are in a decluttering mood too, you might like my bigger picture approach in our Small Spaces guide.
Plan first: shelf job and wall job
Before you buy anything, decide what you want the shelf to do. This is the fastest way to avoid the classic mistake of hanging a shelf, decorating it, and then realizing it is too high to use or too low to look good.
Pick the shelf job
- Display shelf: lightweight decor, framed photos, small art, a candle or two, a tiny plant.
- Everyday grab shelf: keys, sunglasses, dog leash, a catchall bowl. Needs to be reachable.
- Book shelf: heavy. Requires studs when available or hardware that is specifically rated for the load and wall type.
- Kitchen helper shelf: frequently used canisters, mugs, spices. Needs easy wipe surfaces and grease-friendly styling.
Check the wall job too
Different walls ask for different solutions. Drywall over studs is common and straightforward. Plaster, tile, brick, and concrete are all doable, but they change the tools and anchors you need.
If you are unsure what you have, a professional can confirm quickly. Some people peek behind a switch plate to get clues about plaster versus drywall, but only do that if you are comfortable and the power is off at the breaker. Do not disturb any wiring.
Installation that feels solid
I am not an interior designer and I am definitely not here to pretend every project is “easy.” Shelf installation is simple when you go step by step, and it is worth doing right. A shelf that wobbles will never feel relaxing, no matter how pretty the decor is.
What you need
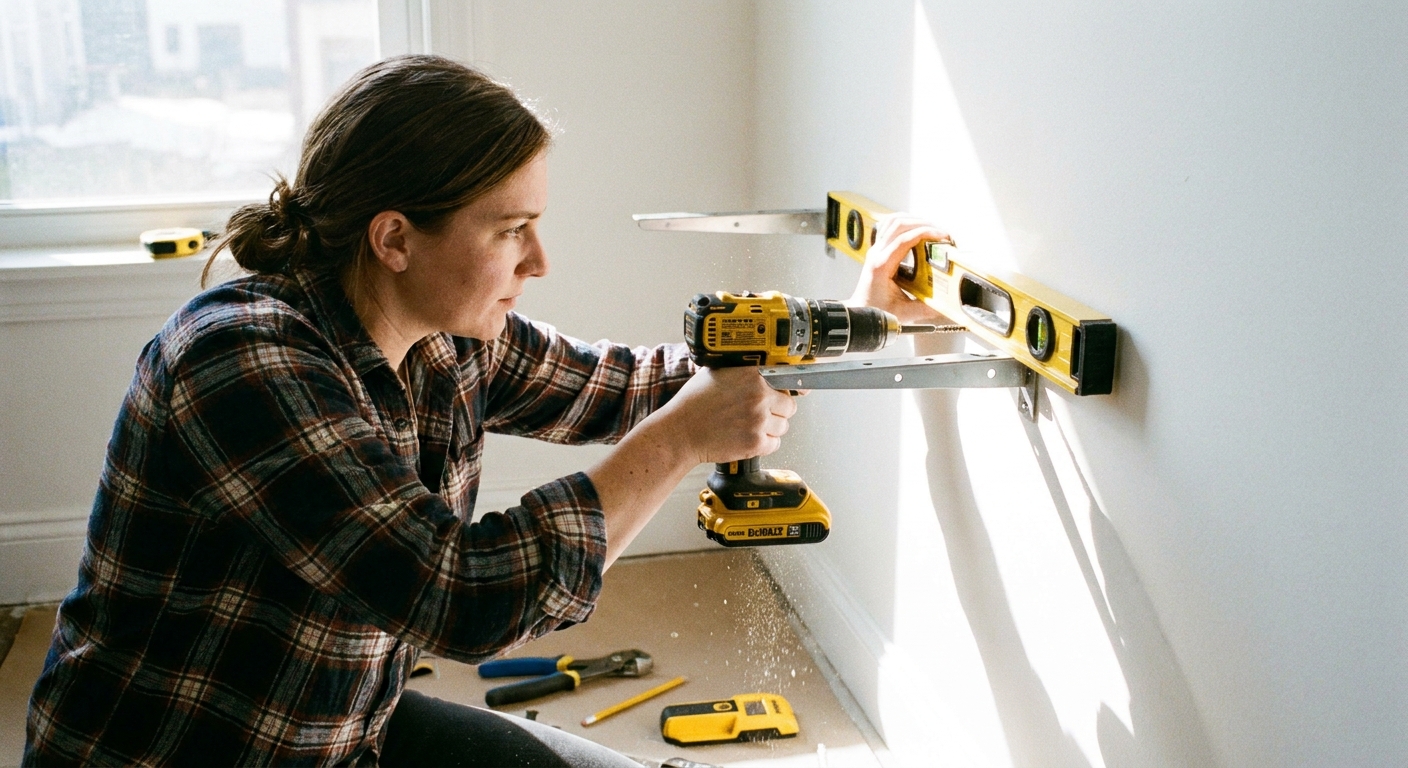
- Stud finder
- Level
- Tape measure
- Pencil
- Drill and the correct drill bits
- Mounting hardware rated for your wall type and the shelf load
My safe-and-straight method
- Scan for studs and plan your screws. For heavier loads, studs are ideal. If studs are not available where you need the shelf, use anchors designed for the wall material and weight.
- Check what is behind the wall. Avoid drilling where wiring or pipes may run. Be extra cautious near sinks, baths, and kitchens.
- Mark the top line. Use a level to draw a light pencil line where the top of the shelf should land.
- Dry fit the bracket. Hold it up, confirm the placement, and mark screw holes.
- Pre-drill. This keeps screws from wandering and helps prevent wall damage.
- Anchor properly. Match anchors to the wall type and stay within the rated limits.
- Level again after tightening. Tiny shifts happen. Fix them now, not after you decorate.
Weight reality check: books, ceramics, and large framed art add up fast. Always check the shelf and bracket rating from the manufacturer and stay under it. If a shelf is carrying “real weight,” I default to studs when I can. If I cannot, I only proceed with heavy-duty anchors that are explicitly rated for that load and that wall material.
A quick note on shelf length: long shelves carrying heavy items are more likely to sag. If you want a wide span for books, look for stronger brackets, more attachment points, or a design that hits multiple studs.
Where to hang floating shelves
These measurements are starting ranges, not rigid rules. Adjust for your ceiling height, the depth of the shelf, the furniture below, and who needs to reach it.
Above a sofa or console
- Start 8 to 10 inches above the back of the sofa or top of a console table.
- If you are doing two shelves, leave 10 to 14 inches between shelves so decor has breathing room.
Above a desk
- Leave 18 to 24 inches between the desktop and the bottom of the shelf.
- Keep the shelf shallow if you tend to stand up quickly. Ask me how I know.
In an entryway drop zone
- Hang the main shelf around 52 to 60 inches from the floor, depending on your height and whether kids need access.
If your entryway is doing a lot of heavy lifting, my step-by-step system is in Plan a Small Entryway Drop Zone.
In a kitchen
- Try 18 inches above the countertop as a starting point.
- Avoid placing open shelves right next to a busy stove unless you are committed to regular wipe-downs.
Styling rules that prevent clutter
I love a styled shelf, but I love an easy-to-live-with home more. The goal is a shelf that looks good and does not become a dust-covered guilt shelf.
Rule 1: Leave empty space
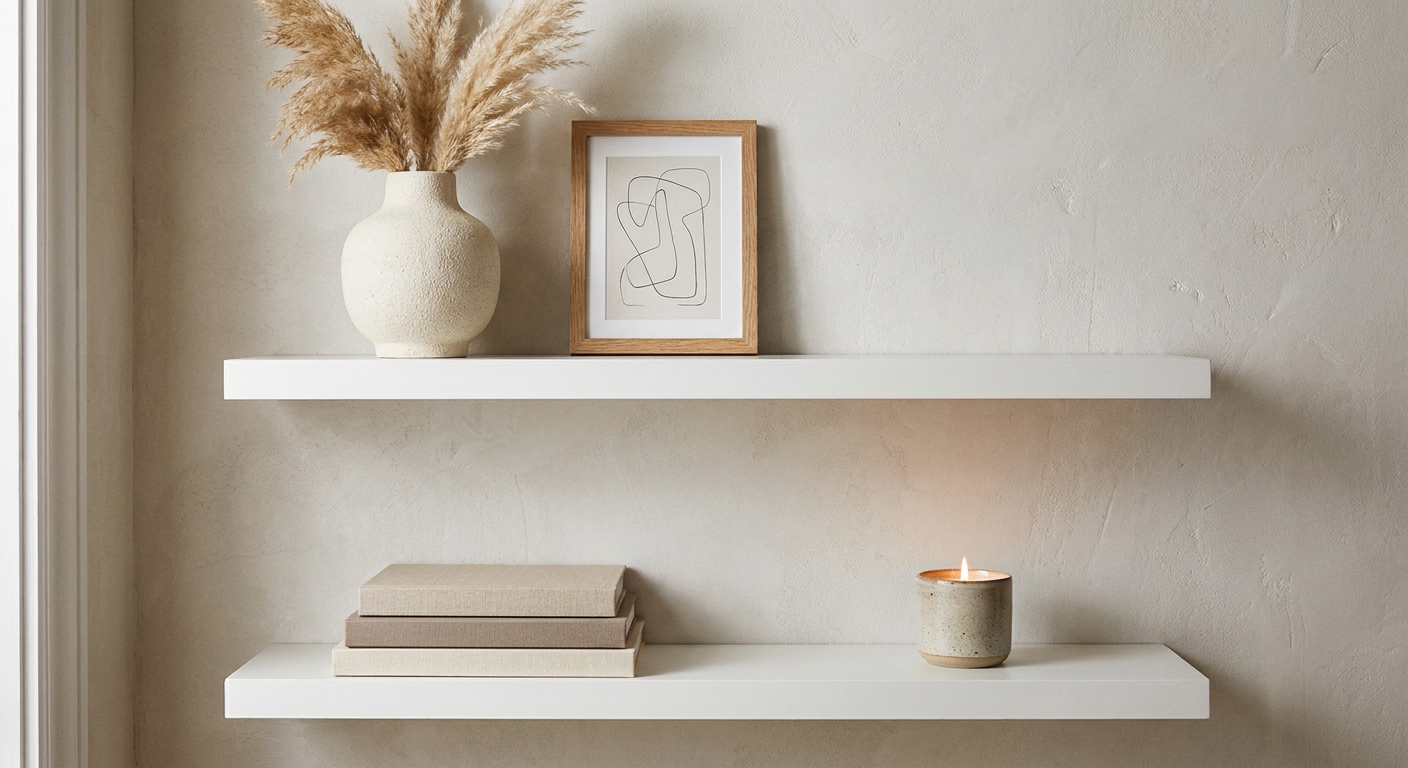
Negative space is not wasted space. It is what makes the shelf feel calm. I aim for about one third open when I am styling, then I step back and adjust.
Rule 2: Big, medium, small
This is my cheat code for instant balance:
- One big anchor: a taller vase, a larger frame, or a substantial bowl.
- Two to three medium items: stacked books, a candle, a smaller frame.
- One small accent: a little object with personality, like a small sculptural piece.
Rule 3: Group in odd numbers
Threes and fives often look natural, but the real trick is making items feel like a cluster instead of a line-up. Keep grouped items close enough that they clearly belong together.
Rule 4: Vary height and shape
If everything is the same height, your eye skims and the shelf looks flat. Mix a tall item, something low, and one piece with an interesting silhouette.
Rule 5: Keep a tight color story
In small rooms, a shelf can quickly turn into visual noise. I like choosing 2 to 3 core colors and repeating them. Natural textures count as colors too: wood, ceramic, woven pieces, matte black metal.
Decor that earns its place
If you are tight on storage, mix decor with light function. This is how shelves reduce clutter instead of just relocating it.
- Pretty boxes: stash remote controls, matchbooks, or extra chargers.
- A small tray: corral small items so they read as one visual unit.
- Bookends: keep a small book stack upright and intentional.
- A lidded basket: great for papers you need nearby but do not want to see.
- A single hook rail underneath: useful in an entryway for dog leashes or keys, as long as it is not directly over your head.
For more room-by-room ideas like this, our Home Decor guide pulls together the building blocks I use when I am trying to make a home feel calmer fast.
Layouts that look polished
If you are staring at a blank wall, these three layouts are reliable and forgiving.
1) The classic pair
Two shelves stacked vertically, centered over a piece of furniture. Clean, symmetrical, easy to style.
2) The staggered trio
Three shelves with slight height shifts. This layout adds movement and works well on long walls.
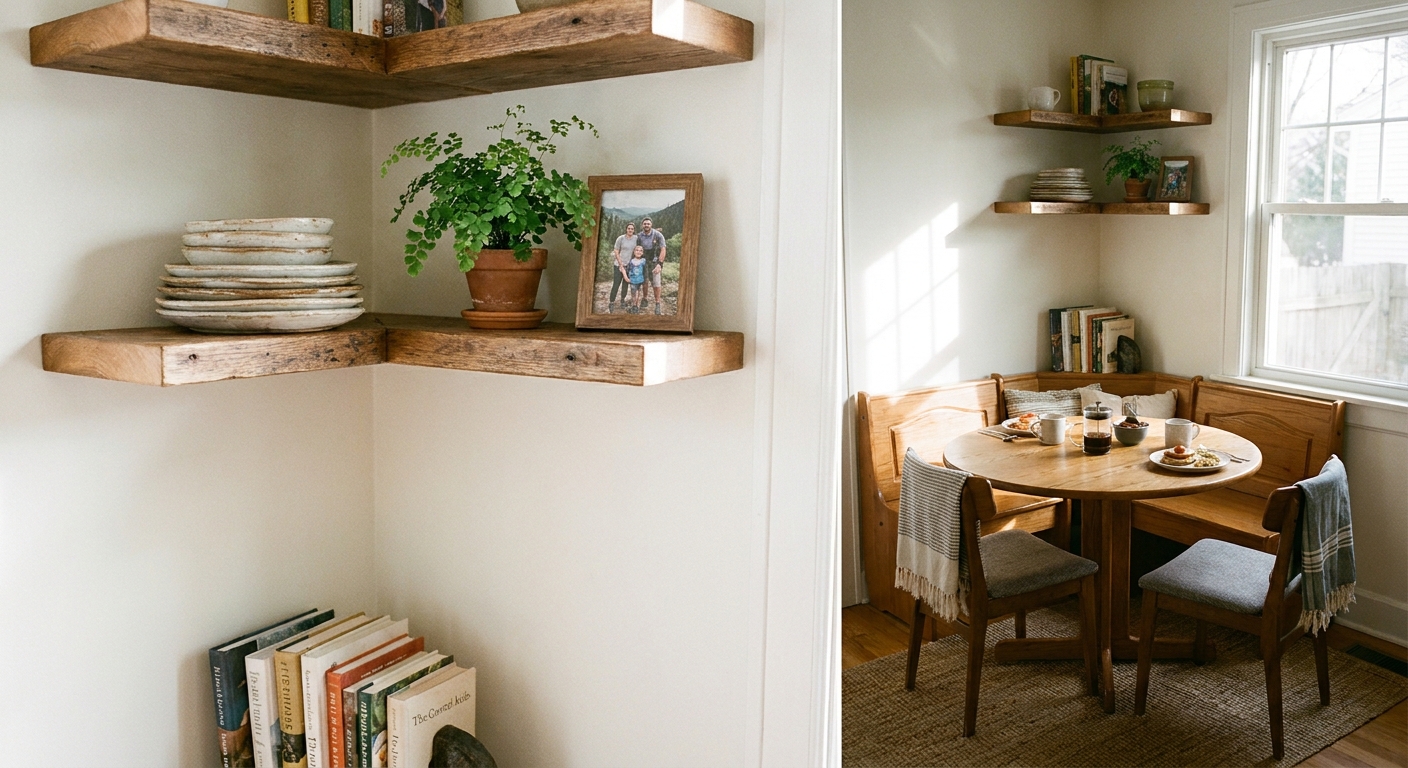
3) The corner wrap
One shelf on each wall meeting at a corner. This is great in small dining nooks or awkward corners that feel empty but cannot fit a cabinet.
Common mistakes and fixes
- Mistake: Shelves hung too high.
Fix: Lower them so they relate to furniture below. If you cannot move them, use taller items to visually connect the shelf to the room. - Mistake: Too many tiny items.
Fix: Swap several small pieces for one larger anchor item, then keep only a few supporting items. - Mistake: Everything lined up at the front edge.
Fix: Push some items back and layer frames behind smaller objects to create depth. - Mistake: Shelves used as random storage.
Fix: Add a lidded box or basket so the shelf looks calm even when it is doing a job. - Mistake: Wobbly shelf.
Fix: Take everything off, recheck the bracket and hardware, and make sure you are mounted securely for the load, ideally into studs or into anchors rated for your wall type.
FAQ
How deep should floating shelves be in a small room?
For most small spaces, 6 to 8 inches deep is a great starting range for decor and light storage without making the wall feel bulky. For books, you may need deeper depending on what you store.
Do floating shelves make a room look bigger?
They can, especially if you keep the floor clear and style the shelves with plenty of negative space. When your eye travels upward, the room feels taller and less crowded.
How do I style shelves without making them dusty and high maintenance?
Use fewer items, choose pieces with wipeable surfaces, and avoid lots of small textured objects. A simple mix of books, one ceramic piece, and one framed photo is easy to maintain and still looks finished.