Make daily kitchen essentials look intentional, not cluttered. Learn the “home + boundary” rule, styled counter zones, and easy setups for boards, utensils, ...
Under-Cabinet Mason Jar Storage

Published · Last updated
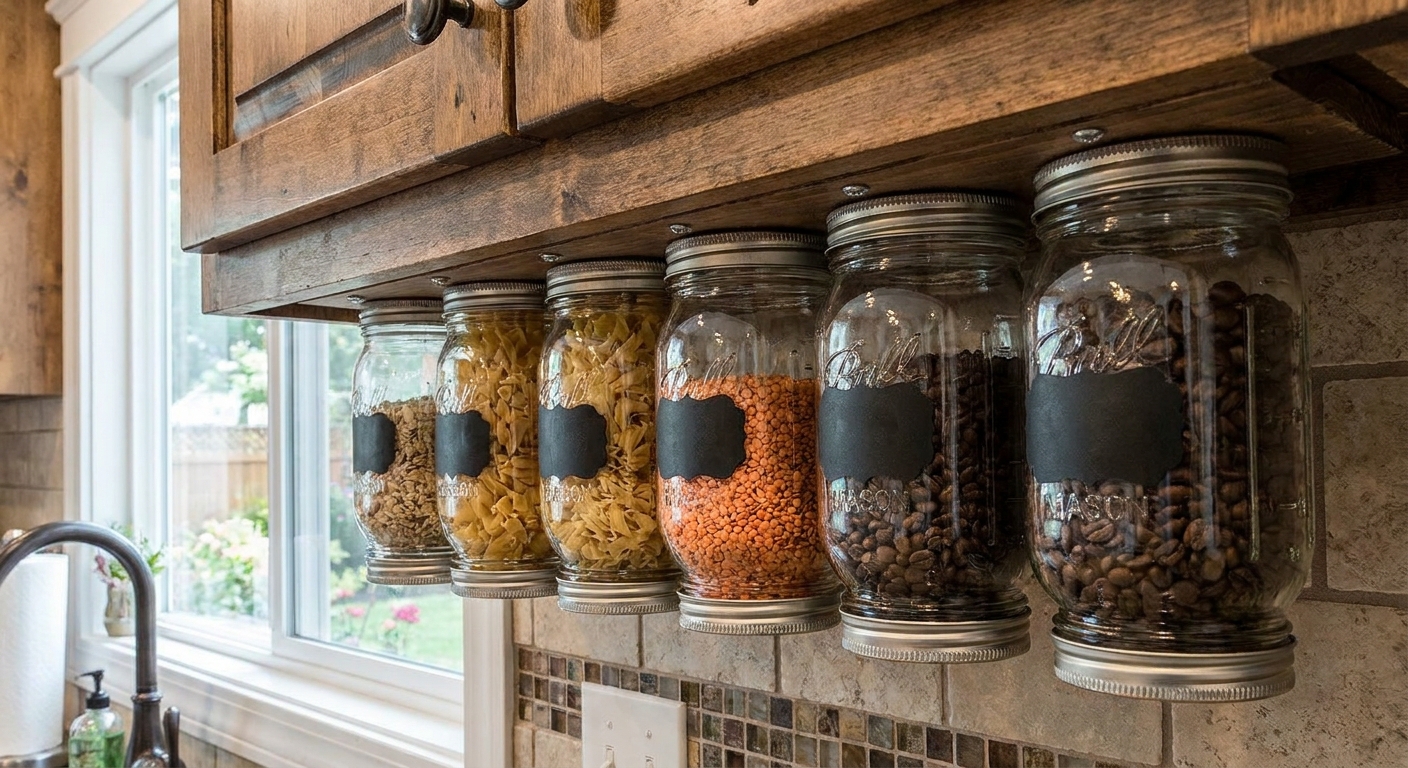
In my tiniest apartment kitchen, “counter space” was basically a cutting board balanced over the sink. The first time I tried under-cabinet mason jar storage, it felt like cheating in the best way. Suddenly my spices were not competing with the toaster, and my counters stopped looking permanently busy. It is also one of those farmhouse-style touches that looks intentional, even though it is really just a smart little storage hack.
Why this works
Mounting mason jars under your upper cabinets turns unused air space into storage. You get grab-and-go access to the things you use most, and your counters instantly look calmer without adding another canister set.
- It is vertical storage without losing shelf space. Your cabinet interior stays the same.
- It is naturally zoned. Put jars near where you cook, prep, or make coffee.
- It has that simple rustic look. Glass, metal lids, and a tidy row of jars read very farmhouse.
If you are already working on getting your counters under control, pair this with the ideas in Beautiful Kitchen Countertop Organization and you will feel the difference fast.
What to store
The best rule is: store items that are lightweight, used often, and not messy when you open them one-handed. Also, skip liquids. Even a “tight” jar can weep over time when it is hanging and getting twisted on and off.
Great options
- Spices and spice blends
- Loose tea bags or sweetener packets
- Baking sprinkles and small decorations
- Dry goods in small amounts (rice for one dinner, dried beans for a recipe)
- Dog treats (if your helper is not tall enough to reach)
- Small items like rubber bands, binder clips, or matches (away from the stove)
Skip these
- Anything heavy. Big jars packed with flour or sugar are not a great idea.
- Liquids. Oil, syrup, homemade cleaners, anything like that. Gravity is patient.
- Oily or staining spices near steam. Paprika and turmeric are gorgeous until they tint everything.
- Anything you need to scoop carefully. If it spills easily, it will spill eventually.
Supplies you will need
You do not need fancy hardware. You just need the right combo of jars and screws so the rings stay put.
- Mason jars with two-piece lids (flat disk plus screw band). Wide-mouth jars are easier to fill.
- Lid sets (you will use the screw bands, and the flat disks can stay in place if you like the look)
- Short wood screws (often #6 or #8). Choose a length that bites securely but does not poke through the cabinet floor above.
- Optional: small washers (they can help the screw head grip better)
- Drill or screwdriver
- Measuring tape and pencil
- Optional: painter’s tape for marking and spacing
Quick cabinet note: Solid wood tends to hold screws best. If your cabinet underside is thin plywood, MDF, or particleboard, go slow, pre-drill, and keep jar weights extra light.
Quick safety note: You are drilling into the underside of a cabinet. Make sure you are not hitting a hidden light rail, wiring, or an integrated under-cabinet fixture.
Before you drill
This is the part that saves you from bonking jars with your coffee maker or realizing the cabinet door will not open fully.
Check clearance
- Door swing: Open cabinet doors fully and note where hinges sit.
- Counter items: Keep jars away from anything tall you cannot move, like a stand mixer on a pull-out.
- Head space: If the cabinet is over a main work zone, keep jars closer to the back so you are not ducking.
Pick a jar size
For spices, smaller is better. In most kitchens, 4 oz to 8 oz jars feel tidy and do not overwhelm the space. Pint jars can work for tea bags or snack-size dry goods, but they start to feel bulky in a narrow kitchen.
If you are unsure, hang one jar first and live with it for a week. It will tell you very quickly if the placement, height, and weight feel right.
How to mount the lids
I like to do one test jar first. It keeps the whole project from drifting into “crooked craft fair booth” territory.
Step 1: Mark your jar line
- Hold a jar up under the cabinet where you want it to hang.
- Mark the jar’s approximate center point with a pencil.
- Repeat for the rest, spacing them evenly. I aim for 3 to 4 inches between jar centers for small jars.
Step 2: Set up the ring and disk
Two-piece mason jar lids work because the screw band (the ring) has the threads. The flat lid disk does not.
To make an under-cabinet system that actually twists on and off like normal, you want to mount the screw band to the cabinet. The easiest way is to keep the flat disk seated inside the band while you screw it up. Your screw goes through the center of the flat disk and pins the band in place.
- Place the flat lid disk into the screw band, just like you would when closing a jar.
- Hold that assembled lid set under the cabinet with the open threaded side facing down (toward you).
- Choose your screw point(s). For one screw, aim through the center of the flat disk. For two screws, place them slightly apart so the band cannot twist over time.
Small note: Some people mount only the screw band, but it can flex while you drill. Using the disk as a backer makes the whole thing easier to hold steady.
Step 3: Pre-drill pilot holes
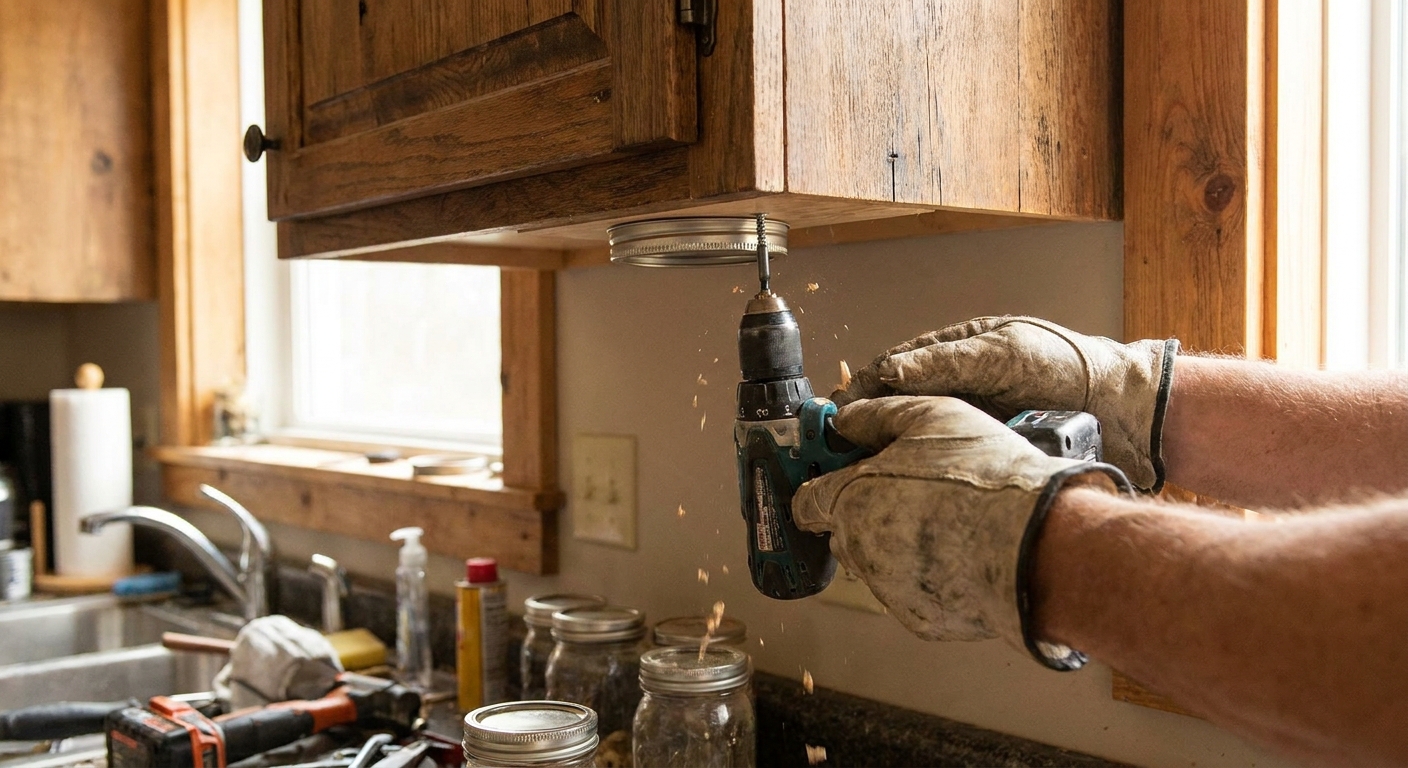
Hold the assembled band and disk in place and mark your screw point(s). Pre-drill small pilot holes to help the screws go in straight and to reduce splitting, especially with particleboard or MDF.
Step 4: Screw the lid set to the cabinet
- Hold the band and disk assembly in position.
- Drive the screw(s) through the disk and into the cabinet underside. This secures the ring, which is what your jar will actually thread onto.
- If using washers, place them under the screw head for a snug hold.
Do not over-tighten. You want the band secure, but you do not want to crush or warp the lid pieces.
Step 5: Attach the jar and test
- Fill the jar (not overly full).
- Twist it onto the mounted ring.
- Gently wiggle and twist off and on a few times.
If the ring shifts, add a second screw or switch to a slightly wider washer.
Step 6: Repeat, then label if you want
If you like labels, put them on the bottom of the jars (facing you) or on the glass itself. I avoid labeling the cabinet underside because I change my mind too often.
Farmhouse finishing touches
Under-cabinet jars already lean rustic. A few small choices can make them look more built-in and less like a weekend experiment.
- Use matching jar sizes in one run, even if contents vary.
- Stick to a simple palette: silver lids, black lids, or all white.
- Decant consistently: half-full jars look messy fast. Top up or downsize.
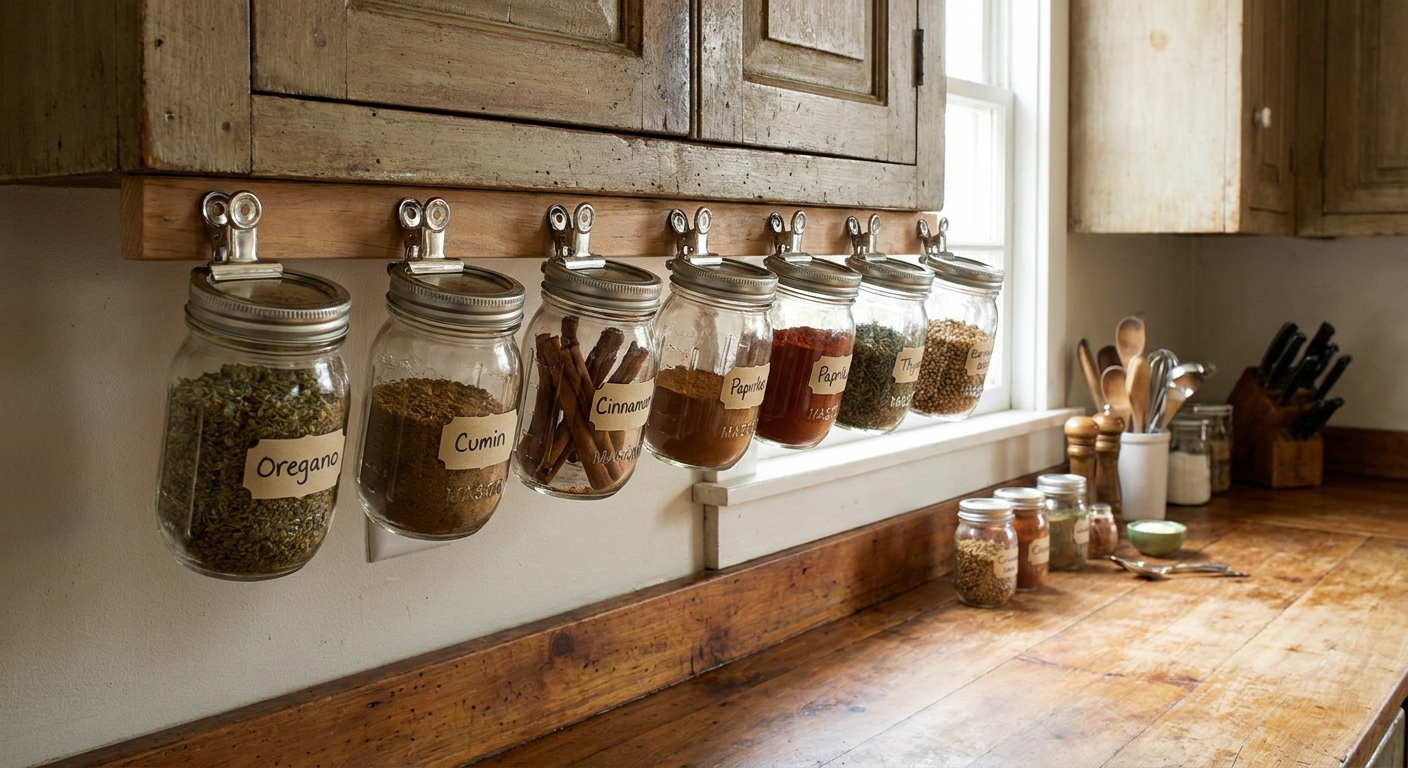
- Add a small wood rail behind the jars if your cabinet has a recessed underside and you want a more finished look. Re-check door swing and clearance first, since even a slim strip can change how close jars sit to the cabinet face.
If you are building out a broader cozy, practical farmhouse vibe, the main style guide is here: Farmhouse Style Guide.
Troubleshooting
My rings keep loosening when I twist jars off
- Add a second screw so the band cannot rotate.
- Use a washer under the screw head for better grip.
- Make sure your pilot holes were not too large.
The band spins, but the screw feels tight
This usually means the band is flexing, or the screw head is not grabbing enough surface. Two screws spaced apart fixes it most of the time.
My cabinet underside is thin
Use shorter screws and test in an inconspicuous spot. If the cabinet is particleboard or MDF, pre-drilling matters even more. Keep jar sizes small and do a one-jar test run before you commit to a whole row.
Grease and cooking film are making everything sticky
Move the jars away from the stove area, or reserve this system for low-mess items like tea bags. If you do use it for spices, wipe jars weekly with warm soapy water, and dry well to prevent rust.
Make it part of a bigger plan
Under-cabinet mason jars are fantastic, but they work best when you combine them with one more “free space” move inside your cabinets. If you need extra stacking room for plates, bowls, or pantry items, I swear by simple risers and tension rods. I break down options and placements in Add More Kitchen Cabinet Space With Shelf Risers and Tension Rods.
And if you want another quick DIY organizer that looks right at home in a farmhouse kitchen, my fabric bin project is here: DIY Fabric Storage Basket for Shelf Clutter.
FAQ
Will this damage my cabinets?
It does leave small screw holes. If you are renting or you are not ready to commit, skip drilling and consider keeping jars inside a cabinet door organizer instead. If you own your cabinets, the holes are easy to fill later with wood filler and a touch-up pen.
Can I use adhesive instead of screws?
I do not recommend it for jars you plan to twist on and off regularly. The twisting force is what makes adhesives fail over time, especially in a warm, steamy kitchen.
How many jars can I hang?
As many as you can comfortably access without bumping them. Practically, a short run of 6 to 10 small jars is plenty. I would rather have fewer jars that stay neat than a whole row that turns into visual noise.
What is the best jar size for spices?
Small jars win here. Anything in the 4 oz to 8 oz range keeps the weight down and makes refilling and swapping rings less annoying.