
Add More Kitchen Cabinet Space With Shelf Risers and Tension Rods

In my tiniest studio kitchen, I had exactly one upper cabinet that did not wobble, and I treated it like prime real estate. The game-changer was realizing that most cabinets do not run out of space, they run out of usable layers. Shelf risers add a second story. Tension rods create instant “walls” and “rails” that stop piles from sliding and turn awkward gaps into storage.
If you want to fit more plates, mugs, and pantry basics without buying new cabinets, this is my go-to, budget-friendly combo. It often feels like doubling your cabinet space, depending on your cabinet height and what you store.
Before you start: a 10-minute reset
I know the temptation is to start installing things immediately. But three quick steps will make risers and rods work so much better.
1) Pick one cabinet and empty it
Choose the cabinet that causes the most daily friction: the plate cabinet, the mug cabinet, or the “everything” pantry cabinet.
2) Measure the inside (you only need three numbers)
- Width (left to right interior)
- Depth (front to back interior)
- Height from shelf to shelf (or shelf to cabinet ceiling)
These numbers help you avoid the classic mistake: buying a riser that blocks the cabinet door from closing, or a tension rod that is too short to grip securely.
3) Sort by cabinet behavior, not by category
This is how I sort when I am trying to create more capacity:
- Stacks: plates, bowls, small saucers
- Clingers: mugs, stemless glasses (things you grab by a handle or rim)
- Sliders: cutting boards, sheet pans, trays, lids
- Packets and toppers: snacks, tea, foil boxes, spice packets
Risers love stacks. Tension rods love sliders and packets.
Two tools that add usable space
Shelf risers: add an extra level
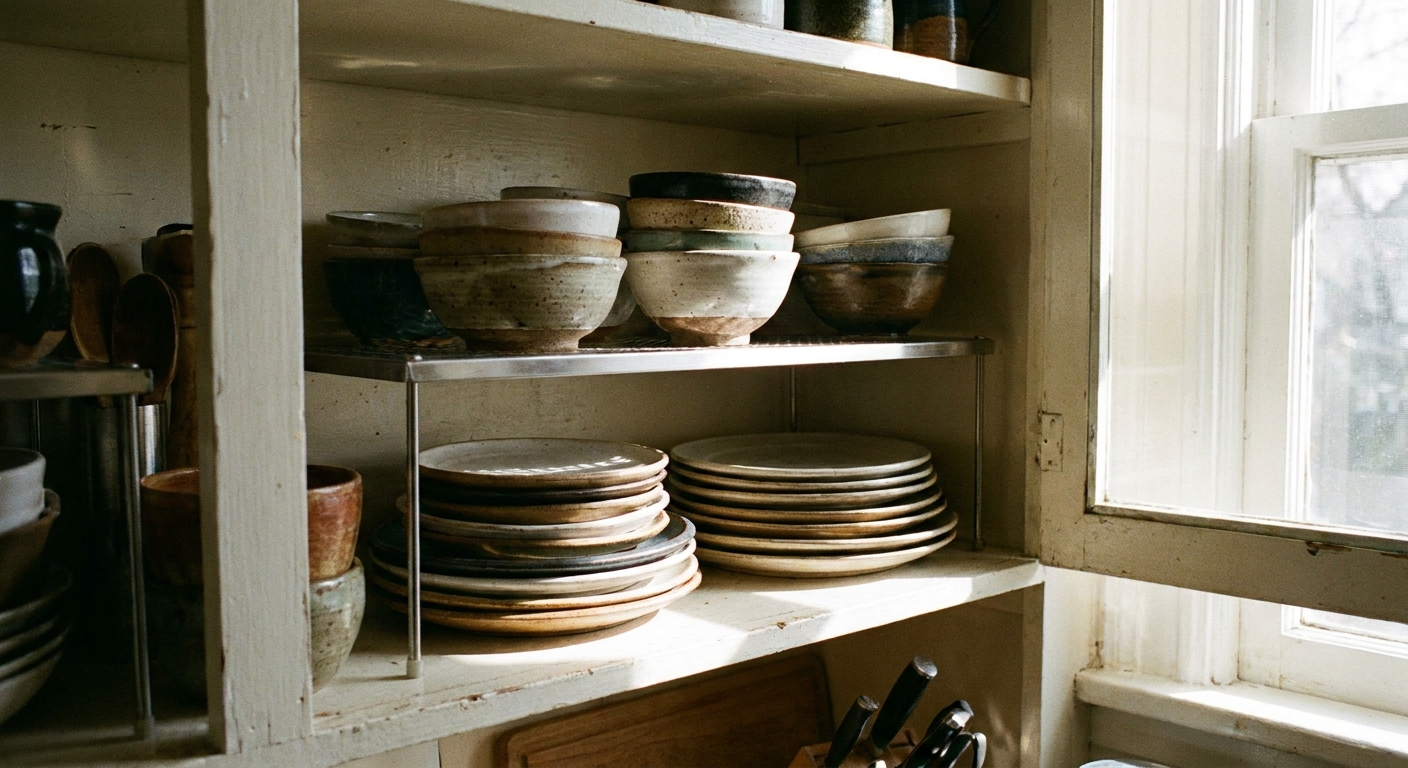
Most cabinets have a big gap of wasted air above short stacks like plates. A shelf riser turns that air into a second layer, so you can store two groupings in the footprint of one.
- Best for: plates, bowls, pantry cans, snack bins, ramekins
- Look for: sturdy legs, a non-slip surface, and enough clearance underneath for what you will slide in and out
Tension rods: add rails and dividers
Tension rods are the unsung heroes of small kitchens because they create structure without permanent hardware. They can keep items upright, stop stacks from toppling, and corral lightweight packages that love to flop forward.
- Best for: baking sheets, cutting boards, pot lids, wraps, spice packets, dish towels
- Look for: a rod with a strong spring or twist lock, and rubber ends for grip
Quick reality check: Tension rods work best when they press against two opposing, non-slippery surfaces. They usually grip cabinet side walls, but they can also brace against face frames or trim if the ends have enough friction and sit flat.
Setup 1: Plates and bowls
This is the quickest win, especially if your plates sit in one tall stack that eats up the whole shelf.
How to do it
- Add a shelf riser on the existing shelf.
- Put everyday plates on the lower level so they are easiest to grab.
- Put lighter, less-used pieces on the top level such as salad plates or a serving bowl.
- Leave a finger-width of space above the stacks so you can lift without scraping your knuckles.
My small-space rule
If a stack needs two hands and a deep breath to pull out, it is too tall. Two shorter stacks on two levels feel like magic.
Setup 2: Mugs and glasses
Mugs are bulky, and handles waste space when they interlock like puzzle pieces. A shelf riser lets you line them up in two tidy rows without stacking mug on mug (which always ends in chips at my house).
How to do it
- Place a shelf riser so you have two mug “floors.”
- Store mugs handles facing out for easy grabbing.
- If you have tall travel tumblers, dedicate one side of the cabinet for height and keep the riser on the other side.
Optional tension rod add-on
If you store lightweight plastic cups or stemless glasses that love to slide forward, install a tension rod across the cabinet opening, a couple inches in from the front edge. It works like a subtle guardrail.
Do a quick door test first: Close the cabinet door slowly to make sure the rod does not hit the door, hinges, or an inset lip. If it does, move the rod back slightly.
Setup 3: Baking sheets and boards
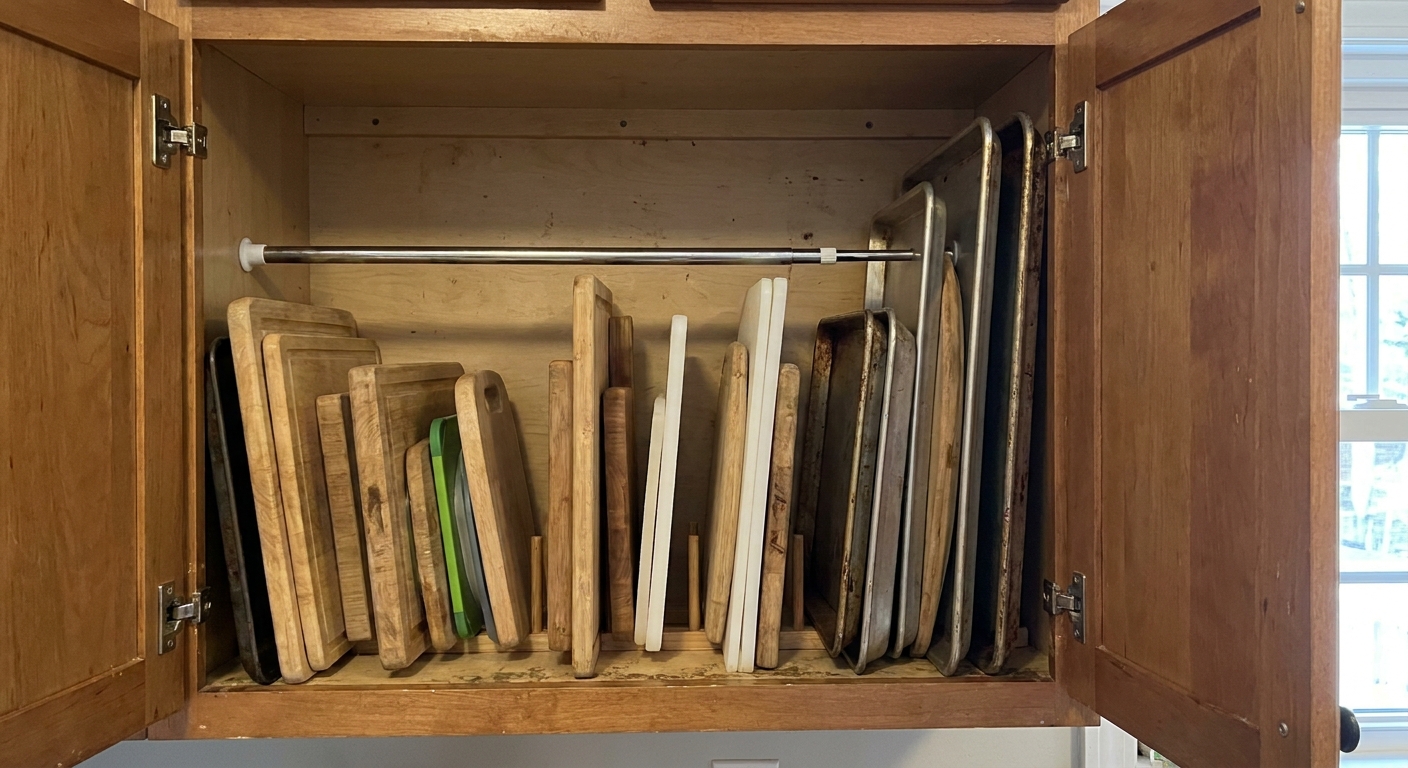
This is my favorite use of tension rods because it turns that annoying lean-and-fall pile into a stable row you can flip through.
Two ways to do it
Option A: One rod as a front rail
- Stand sheet pans, cutting boards, or trays upright.
- Install one tension rod horizontally across the cabinet, low and near the front.
- Let the bottoms rest on the shelf and the rod keep them from sliding out.
Option B: Two rods to make a channel
- Install one rod a few inches from the left interior wall, front to back (if your cabinet and rod allow that orientation).
- Install another rod a few inches from the right interior wall.
- Slide boards and trays into the center channel so they stay separated and upright.
Think of it like a magazine file. You are creating a narrow lane in the middle that keeps everything standing neatly, instead of collapsing into a diagonal pile.
Safety note: If your cabinet interior is slick, add a thin non-slip liner on the shelf so items do not skate when you pull one out.
Setup 4: Pot lids
Pot lids are awkward because they are wide, curved, and somehow never match the pot you need. A tension rod can turn one shelf into an organized lid zone.
Easy lid corral
- Choose a shelf where lids can stand upright.
- Line them up like records, largest to smallest.
- Install a tension rod across the front so they stay contained.
If you have deep cabinets
Put the lids behind the rod and store a short bin of small items (like measuring cups) in front. The rod prevents the bin from pushing lids over.
Setup 5: Pantry shelves
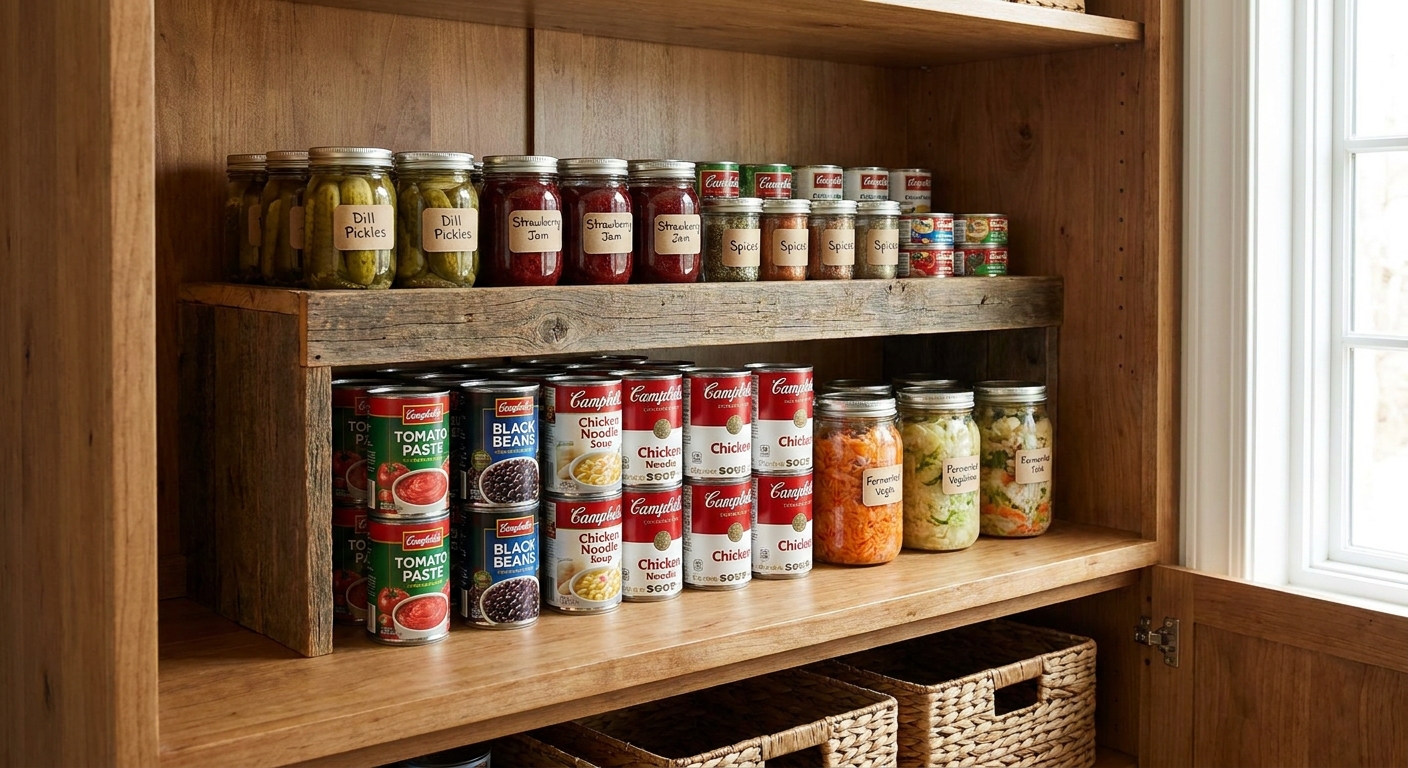
Pantry cabinets are where shelf risers really earn their keep. Cans and jars are usually short enough that you can store a second tier above them, but only if you create a stable surface.
What to put on the riser
- Second tier of cans or jars
- Jars of nut butter or sauces
- Tea boxes and drink mixes
Where tension rods help in pantry cabinets
Use a rod as a mini retaining bar to stop bags and boxes from tipping forward:
- Snack bags: rod across the front to keep them upright
- Foil and wrap boxes: rod to prevent the pile from creeping
- Spice packets: rod creates a shallow “pocket” zone so packets do not avalanche
Choosing the right risers and rods
Shelf riser tips
- Fixed vs. expandable: Fixed risers feel more stable. Expandable risers can be handy when your cabinet width is an odd size, but check for wobble.
- Wire vs. solid: Wire is lighter and easy to wipe down. Solid shelves can be better for small items that would tip on gaps.
- Keep heavy items low: Store heavier dish stacks and cans on the cabinet shelf, not on top of a tall riser.
Tension rod tips
- Wipe the contact points first: A quick clean helps the rubber ends grip and prevents slow slipping.
- Avoid fragile surfaces: Painted particleboard edges and thin veneer can dent if you crank the rod too hard.
- Do not use rods as a shelf: They are great for holding items back, not for supporting weight.
When not to use them
Skip risers when access gets worse
If a riser makes you lose visibility or forces you to lift a heavy stack over a bar every day, it is not a win. This comes up with very tall risers in short cabinets, or with heavy cookware you really want on a lower shelf.
Skip rods if items could fall and break
If you are trying to restrain heavy glass or anything you would regret dropping, use a more secure solution than a tension rod. Rods are best for light to medium items and tidy containment.
Common mistakes
Buying risers before measuring clearance
If you cannot comfortably slide plates in and out under the riser, you will stop using that spot. Measure the height of what you store most, then choose a riser that gives a little breathing room.
Placing a rod where it cannot grip
Tension rods need two opposing surfaces with enough friction. If a cabinet side is uneven, slick, or interrupted by trim in a way that prevents a flat grip, the rod can slowly slip. Try a different cabinet, rotate the rod position, or use it as a front rail instead of a divider.
Overstuffing “because it fits now”
Capacity is only helpful if you can still access everything. Leave a small gap in each area so you can remove one item without dismantling a stack.
A simple cabinet layout
If you want a starting point, here is a layout I have used in more than one apartment kitchen.
- Cabinet 1 (near the dishwasher): plates and bowls on a shelf riser
- Cabinet 2: mugs and glasses on a shelf riser, plus a front tension rod as a guardrail if needed
- Lower cabinet: baking sheets, cutting boards, and trays upright with a front tension rod
- Pantry cabinet: shelf risers for cans and jars, tension rod to corral bags
If you want to keep the rest of the kitchen feeling calmer, I also walk through my favorite counter-friendly systems in Beautiful Kitchen Countertop Organization. The less that lives on the counter, the more your cabinets can do their job without feeling jammed.
Quick FAQ
Do shelf risers damage cabinets?
Typically no, since they just sit on the shelf. If your shelves scratch easily, place a thin non-slip liner under the riser’s feet.
Where should I not use tension rods?
Avoid using them to support heavy weight. They are great for holding items back and creating dividers, not for acting like a load-bearing shelf.
What if my cabinet shelves are adjustable?
Even better. You can raise or lower a shelf to create the right clearance for a riser setup. I like to adjust shelves so the cabinet has two working zones rather than one tall, wasted gap.
The habit that keeps it working
Once you install risers and rods, the last step is a habit, not a product: every time you put something away, take one second to put it back in its lane. Plates go in their stack, lids go behind their rod, trays stay upright.
That single second is what keeps your cabinets feeling roomy for months, instead of for one satisfying afternoon.
If you are on a whole-house small-space kick, my Small Spaces guide pulls together the systems that make tight homes easier to live in day to day.