
Beautiful Kitchen Countertop Organization

I used to think a “clear counter” was the only route to a calm kitchen. Then I lived in a studio with approximately one cabinet and a drawer that jammed if you looked at it funny. I learned fast that some things have to live out. The trick is making them look intentional.
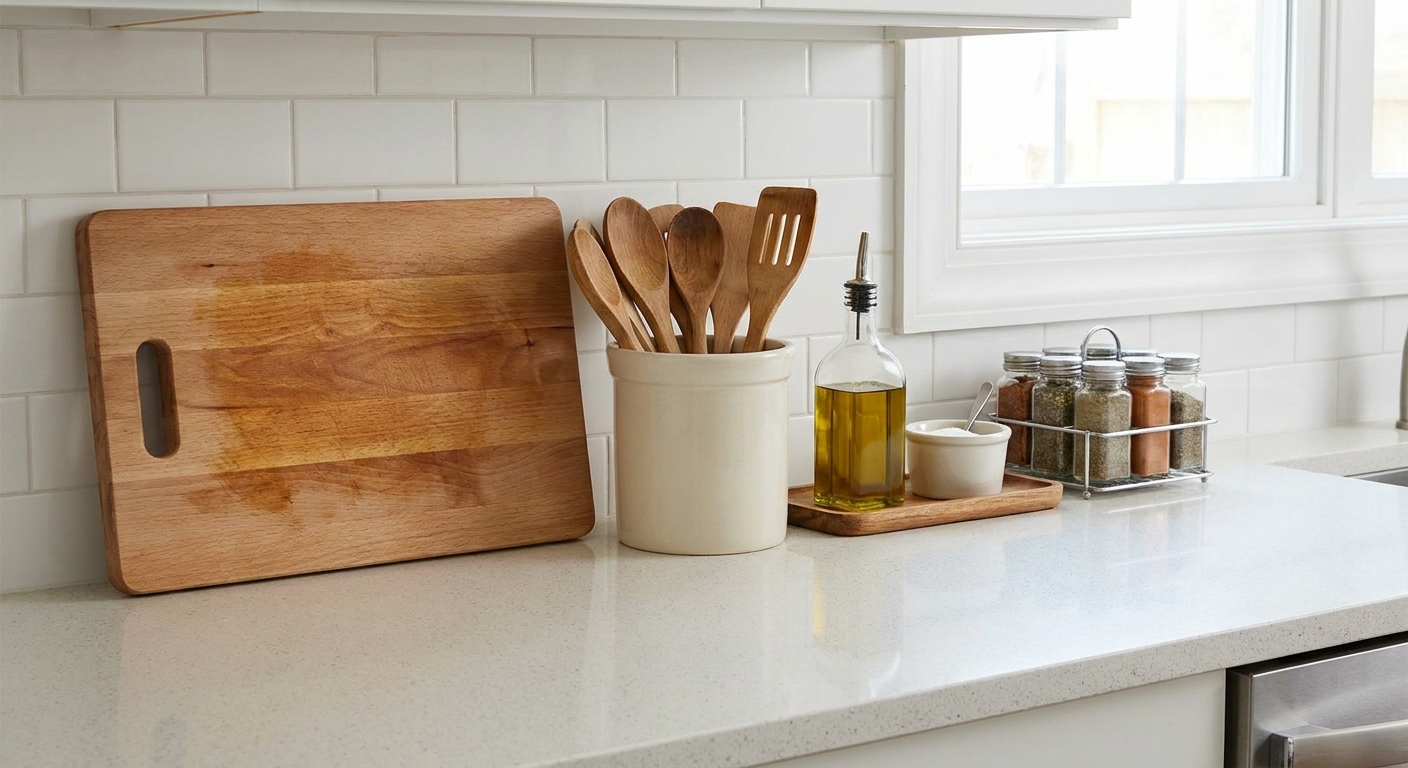
This is my favorite kind of kitchen organizing: the everyday essentials you already own, styled like decor so you gain back cabinet space without creating a messy, always-mid-cooking look. Think one pretty utensil crock, a small cutting board moment, and a spice setup you can actually keep tidy.
The rule for tidy counters
If you take nothing else from this article, take this: everything on the counter needs a home and a boundary.
- A home means you can point to where it belongs when you are done cooking.
- A boundary means it sits on a tray, in a crock, against a wall, or in a corner. Loose items sprinkled across the counter are what reads as clutter.
I aim for “styled clusters” instead of “stuff everywhere.” The fastest way to get there is using containers that visually group items: a tray, a crock, a basket, or a small stand.
Pick what earns counter space
Counter space is prime real estate. I like to pick one set of daily-use items per zone and put the rest away. Here is a simple short list to choose from:
- Cutting boards (1 to 3)
- Utensils you use daily (spatula, wooden spoon, whisk)
- Salt (and pepper, if you use it constantly)
- Cooking oil (one main bottle)
- Frequently used spices (5 to 12, not the entire collection)
- Knife block or magnetic strip items (if that is your preference)
- Paper towels (if you truly use them daily)
Everything else goes into drawers, cabinets, or pantry storage. If you want a hand with the bigger picture, our Home Decor guide is a nice companion because it helps you edit what you see, not just what you own.
Style cutting boards
Cutting boards are one of the easiest items to make look “designer” with zero extra spending. The secret is to treat them like art that can work.
My go-to cutting board setup
- Limit the lineup: 2 boards is often enough, 3 max if you cook a lot.
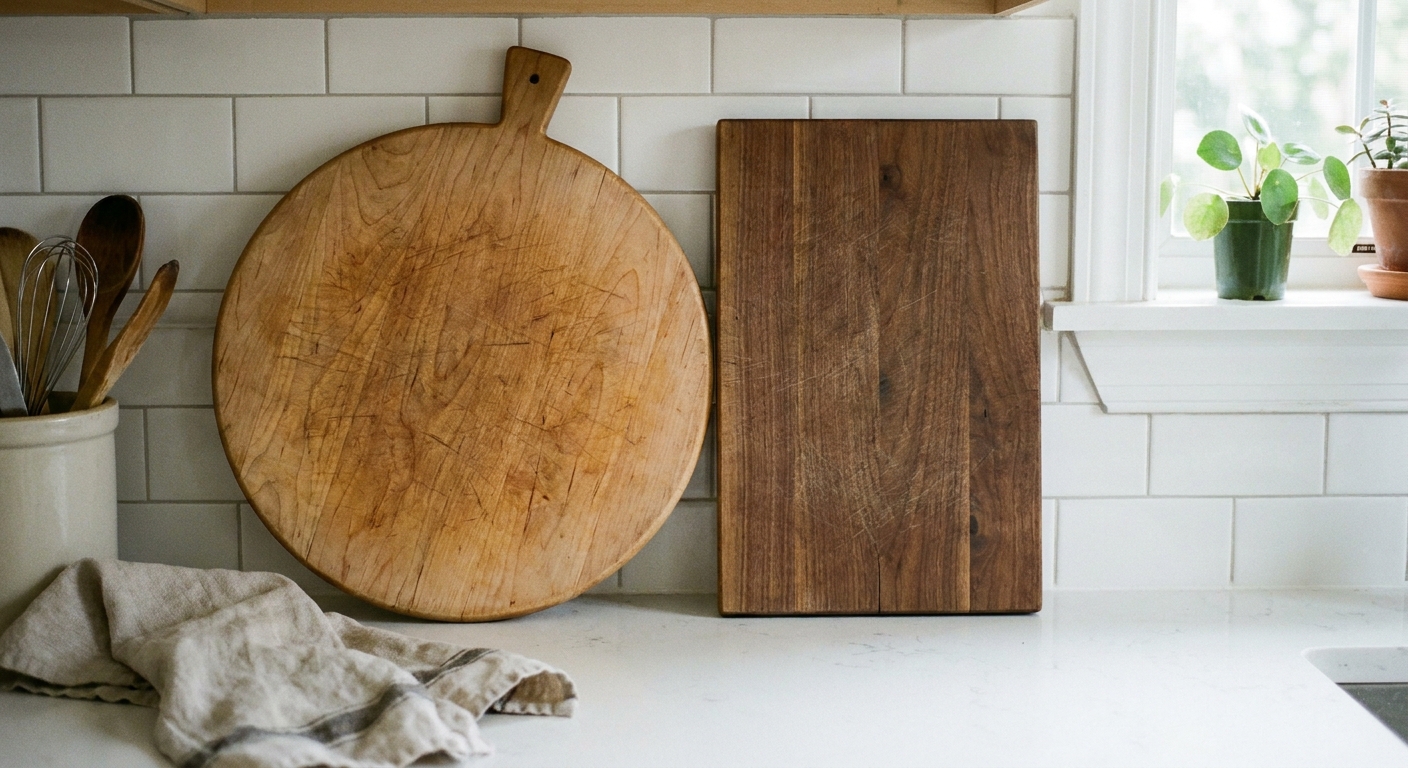
- Vary the shape: one rectangle and one round, or one thick butcher block and one thin everyday board.
- Lean, do not lay: stand them upright against the backsplash so they take visual space, not work space.
- Layer intentionally: the larger board in back, smaller in front, slightly offset.
Quick safety note from someone who has knocked a board over mid-dinner: keep anything you lean well away from active burners and make sure it cannot slide into heat.
If your boards slip, tuck a small clear rubber bumper under the front edge, or set them in a low-profile vertical rack (think file-sorter style). A board that slides around is what turns a pretty vignette into something you resent daily.
Contain utensils
A utensil crock is functional decor when it is sized correctly. Too small and everything fans out. Too big and it becomes a junk drawer in disguise.
What works in real life
- Choose a heavier crock (ceramic or stoneware) so it does not tip when you grab a spoon one-handed.
- Keep it to 6 to 10 tools you truly reach for daily.
- Pick a tight color story: wood plus black, or wood plus stainless, or all silicone in one color. Mixed materials can look chaotic fast.
- Wash it weekly: turn it upside down, shake out crumbs, and wipe it. This one habit keeps the “decor” from feeling grimy.
I like placing the crock near the stove, but not so close that it gets splattered every time you fry something.
Use one tray for oils and salt
If you cook often, you probably grab oil and salt every day. The difference between “chef chic” and “counter clutter” is a tray.
The two-minute oil and salt upgrade
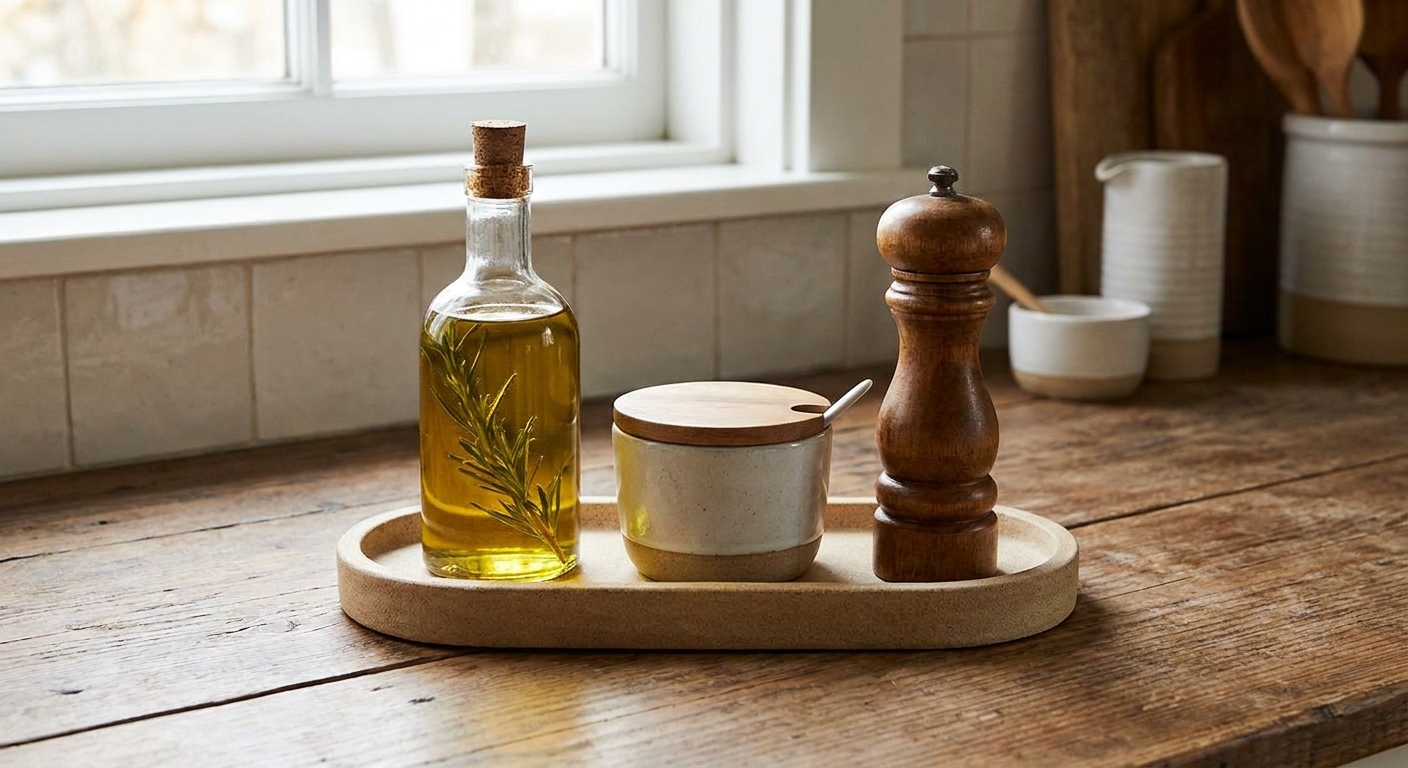
- Use a small tray, plate, or shallow bowl as the boundary.
- Keep it to one main oil, plus salt and pepper. If you use two oils daily, fine. Just stop there.
- Wipe the tray when you wipe the counter. Oil rings are what make this setup look messy.
This setup can help reclaim cabinet space, especially if your bottles tend to tip or leave drips around the spout. It also makes it easier to see when you are running low.
Keep spices out without chaos
I love cooking, and I also love not staring at 47 mismatched spice jars first thing in the morning. The sweet spot is a small working set of spices that lives out, while the rest stays in a drawer or cabinet.
Pick a spice system
- Lazy Susan: great for corner counters. Keep it to 10 to 15 jars so it does not turn into a spinning pantry.
- Low step shelf: good if you prefer to see labels quickly and do not want to dig.
- Uniform jars on a tray: my favorite for a more edited look, and usually the simplest to reset after cooking.
My spice rules
- Keep only everyday spices out: salt blends, garlic powder, cinnamon, chili flakes, and your top few go-to mixes.
- Group by frequency: front row is daily, back row is weekly.
- Wipe the tops: spice dust is real. A quick wipe makes it look styled again.
If you are tight on counter space, consider moving spices to the inside of a cabinet door or into a drawer organizer, and reserve the counter for just your salt and one signature blend.
Make room for appliances
Appliances are where countertop dreams go to die, so here is how I keep them from taking over.
- Group them on purpose: if you have a coffee maker, grinder, and pods or beans, “ground” the whole setup on one tray so it reads as one station, not three random objects.
- Store by frequency: daily stays out, weekly goes in a cabinet, seasonal goes high or deep storage. No guilt.
- Try a rolling cart: if your kitchen is tight, a slim cart can hold the bulky stuff and roll where you need it.
- Mind the cords: a simple clip or twist tie keeps cords from snaking across the backsplash and looking messy.
- Consider an appliance garage vibe: even one cabinet shelf dedicated to “grab and go” appliances can clear your counters fast.
Set up simple counter zones
Even in a small kitchen, thinking in zones stops the slow spread of stuff.
Zone 1: Cooking
Near the stove. This is where I put the utensil crock, oil and salt tray, and sometimes a small spoon rest. Keep it wipeable and heat-safe.
Zone 2: Prep
Near your main stretch of counter. This is where the cutting boards live. If you have room, you can add a small bowl for produce you are using this week, but do not let it become a dumping ground.
Zone 3: Drop (optional)
A tiny corner for the items that tend to land on counters: keys, mail, earbuds, school forms. If you do not define this zone, your whole counter becomes it. I walk through this in more detail in Plan a Small Entryway Drop Zone, and the same idea works in kitchens.
Materials that stay clean
Real life note: the area near the stove gets greasy. If you want your counters to stay looking tidy without constant scrubbing, pick materials that wipe down fast.
- Best near heat and splatter: stone, ceramic, metal, sealed wood trays.
- Be careful with fabric on counters: I save fabric baskets for pantry shelves and cabinets, not right next to sizzling oil.
- Make it easy to clean: fewer grooves and textures means fewer places for gunk to hide.
If you like soft storage for shelves (and not your cooktop zone), you might enjoy DIY Fabric Storage Basket for Shelf Clutter.
Keep it looking nice when life is loud
I have two kids and a dog. My kitchen counters are not a showroom, and yours do not need to be either. These are the habits that keep countertop decor from becoming countertop clutter:
- Reset in 90 seconds: put stray items back into their boundaries, wipe the tray, straighten boards.
- One-in, one-out: if a new gadget earns counter space, something else has to leave.
- Seasonal edit: every few months, swap what is out based on what you are cooking. Soup-season spices do not need to live out in summer.
- Give yourself a mess-buffer bin: a small container inside a cabinet for the random bits you need to deal with later.
If you love the idea of a cozy kitchen and you want the rest of the room to feel bigger too, you might also like Paint Colors That Make a Small Room Look Bigger. A quieter color palette and tidier counters work together.
Small-space fixes
“I have almost no counter space. What can I leave out?”
Pick one countertop cluster: either (1) utensil crock, or (2) oil and salt tray, or (3) cutting boards stored upright. Not all three. Rotate based on what annoys you most to fetch from cabinets.
“My counters still look cluttered even with trays.”
Usually it is one of these:
- Too many items per cluster
- Too many colors and materials mixed together
- Items are spread across multiple zones instead of staying in one
Try editing each cluster down by two items and see if your shoulders drop a little when you walk in.
“How do I stop paper towels and appliances from ruining the vibe?”
For paper towels, choose one holder and commit to one spot. For appliances, limit what lives out to the ones you use daily. I keep a “no guilt” rule: if I only use something once a week, it gets cabinet storage.
A note from my tiny-kitchen years
When space is tight, your counters have to do double duty. You can absolutely let your essentials live out, and still have a kitchen that feels peaceful. The win is not perfection. It is walking in at the end of the day and thinking, “Okay, I can breathe in here.”
If you want more ideas for styling storage without losing function, our Small Spaces guide is full of the kinds of solutions I wish I had when I was balancing a cutting board on a stove burner just to chop an onion.