
Sew an 18-Inch Envelope Pillow Cover

I used to be the person who bought a whole new throw pillow every time the season changed. Pumpkin pillows, snowy pillows, spring florals, all of it. It looked cute, but my linen closet started behaving like a clown car. Once I finally sewed a simple envelope pillow cover, it clicked: I could keep one good insert and swap covers as often as I wanted, then store the extra covers folded flat like a T-shirt.
This is my go-to 18-inch envelope pillow cover: no zipper, no buttons, and it comes off fast when life happens (because it will). You can make it in an afternoon, and future-you will thank you when it is time to pack away seasonal decor.

Grab the Maord 18-inch pattern (A4 or Letter)
Our printable pattern is designed for an 18 in × 18 in pillow insert and uses a beginner-friendly envelope back.
One important note before you print: the “pattern” is a cut chart, not a full-size paper rectangle. You will measure and cut directly on your fabric (much easier, and no taping pages together).
Why envelope covers are perfect for seasonal storage
If you are short on closet space, pillow inserts are the problem, not the decor. Inserts are puffy and awkward, and they refuse to stack neatly. Covers, on the other hand, fold flat.
- Store flat: fold seasonal covers and file them upright in a bin like dish towels.
- Washable: life with kids, pets, snacks, and coffee happens.
- Fast swaps: the envelope opening lets you change the look in under a minute.
- Budget-friendly: invest in 1 to 2 quality inserts, then rotate covers.
If you are working on a whole-house seasonal reset, my favorite big-picture approach is in our Seasonal Decor guide.
What you need
Materials
- 1 yard of prewashed woven cotton (at least 42 in usable width). Directional prints may require more.
- 18 in × 18 in pillow insert
- Matching thread
Tools
- Measuring tape or quilting ruler
- Fabric scissors or rotary cutter and mat
- Clips or pins
- Iron and ironing surface
- Sewing machine
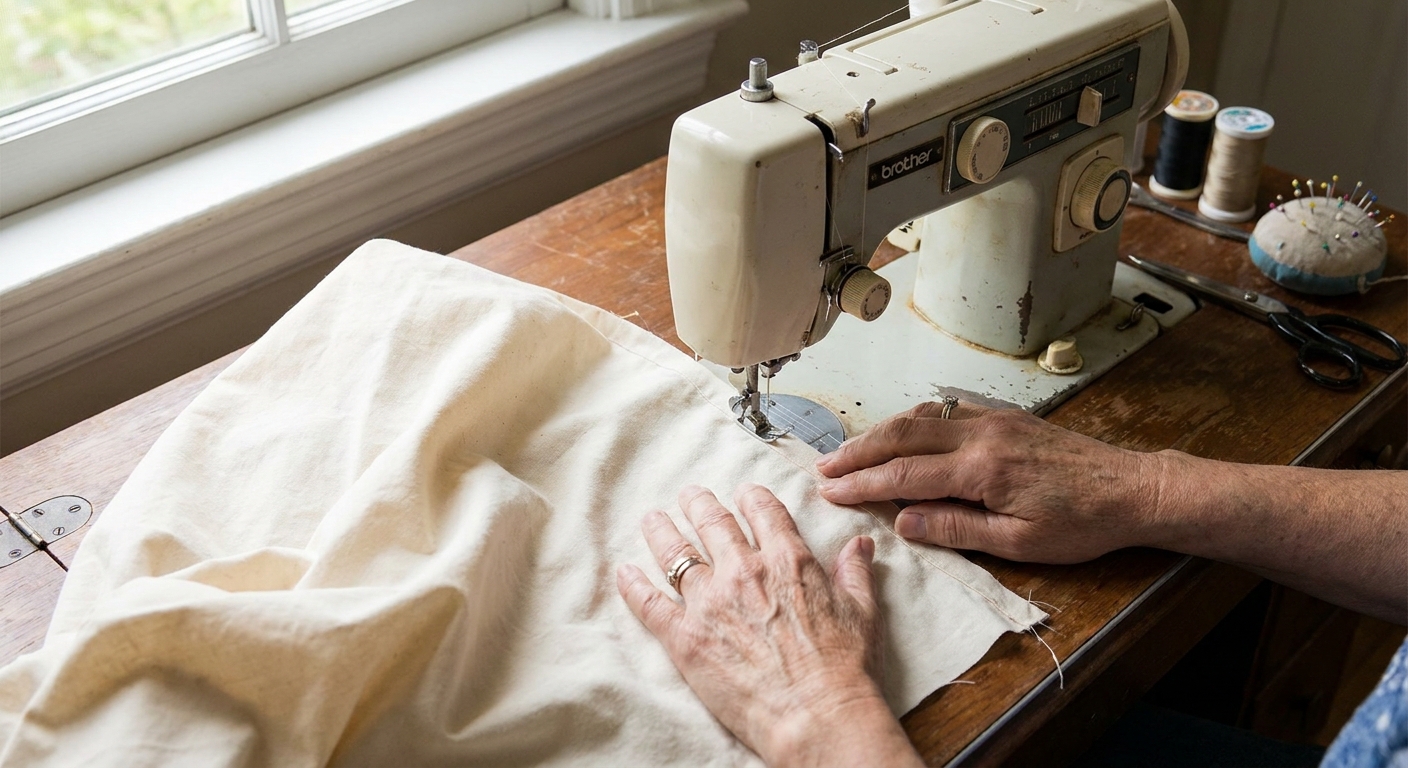
Cut list (seam allowance included)
This pattern includes a 0.5 in seam allowance. Do not add extra.
- Pillow front: cut 1 at 19 in × 19 in
- Pillow back panels: cut 2 at 19 in × 12.5 in
That is it. Three rectangles. I love a project that does not require a brain warm-up.
Step-by-step: sew the envelope pillow cover
1) Hem the envelope edges
Take each 19 in × 12.5 in back panel. On one 19-inch edge (the long edge), make a clean double-fold hem:
- Press 0.5 in to the wrong side.
- Press another 0.5 in to the wrong side, hiding the raw edge.
- Stitch close to the inner fold.
The hem uses up 1 inch of the panel height. That is expected and built into the fit.
2) Layer the pieces (this is the magic part)
- Lay the pillow front right side up.
- Place both back panels right side down on top of it.
- Match the outer raw edges all the way around.
- The hemmed edges should overlap in the center by about 4 inches.
Pin or clip all four sides.
3) Sew all four sides
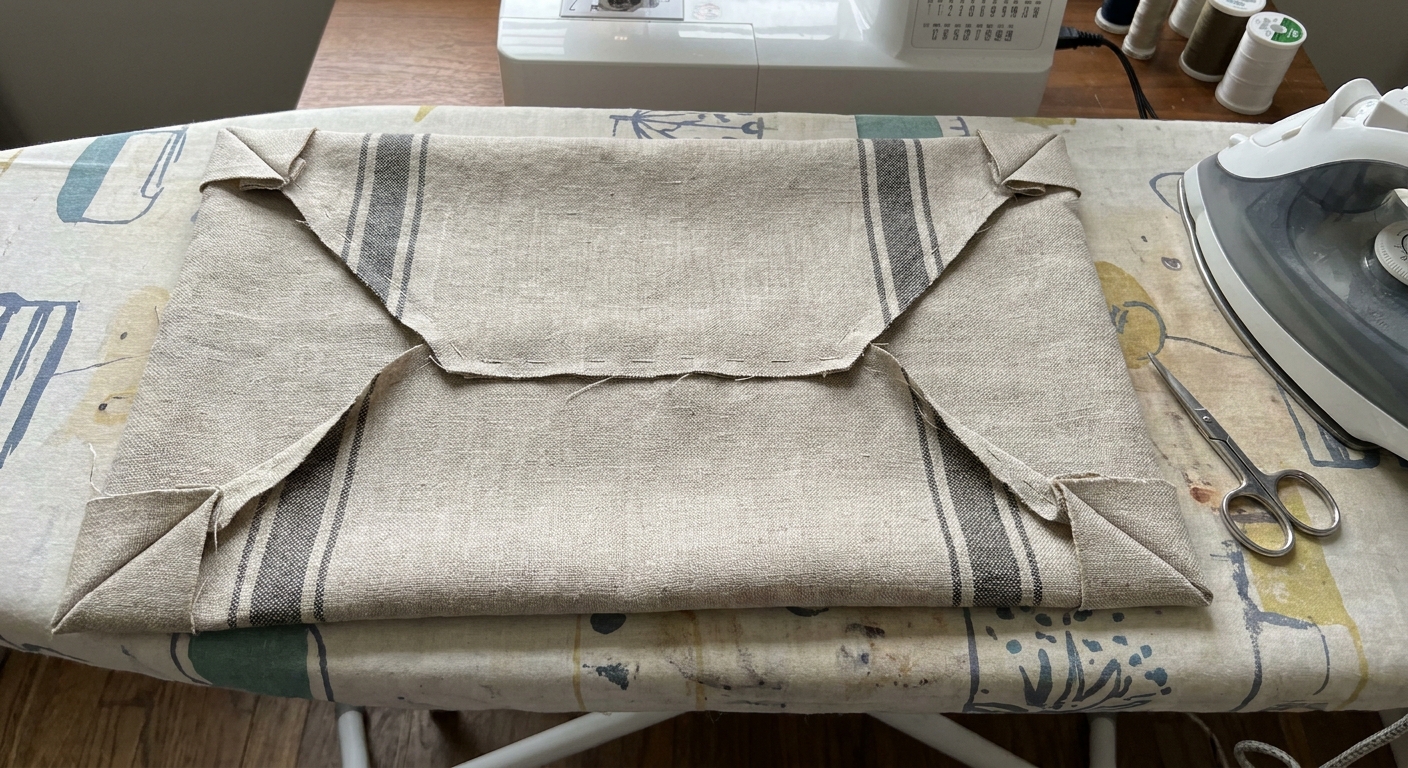
Sew around the entire perimeter using a 0.5 in seam allowance. Backstitch across each end of the envelope opening area (where the overlap starts and ends) for strength. If your fabric frays easily, finish the raw seams with a zigzag stitch.
4) Trim corners, turn, and press
- Clip the corner tips (do not cut your stitches).
- Turn the cover right side out through the envelope opening.
- Use a chopstick or turning tool to gently push out the corners.
- Press the cover flat, especially around the edges.
5) Insert your pillow
Stuff the insert into the cover, squish the corners into place, and you are done.
Little real-life tip: If you plan to wash the cover often, buy inserts that can handle a little abuse. I keep the insert, wash the cover, and put it back on once it is fully dry.
Make it look tailored (even if you are a beginner)
- Press as you go: the iron is what makes this look polished.
- Use a slightly full insert: an 18x18 cover looks best with an 18x18 insert, and some inserts run plumper than others.
- Topstitching is optional: if you love crisp edges, topstitch 1/8 in from the seam after turning and pressing.
- Match your thread: it hides wobbly beginner stitches beautifully.
How to store seasonal pillow covers (so they do not become a new mess)
This is the part that actually changes your closet. Instead of storing four bulky pillows, you store one insert on the sofa and keep the rest as flat covers.
My simple system
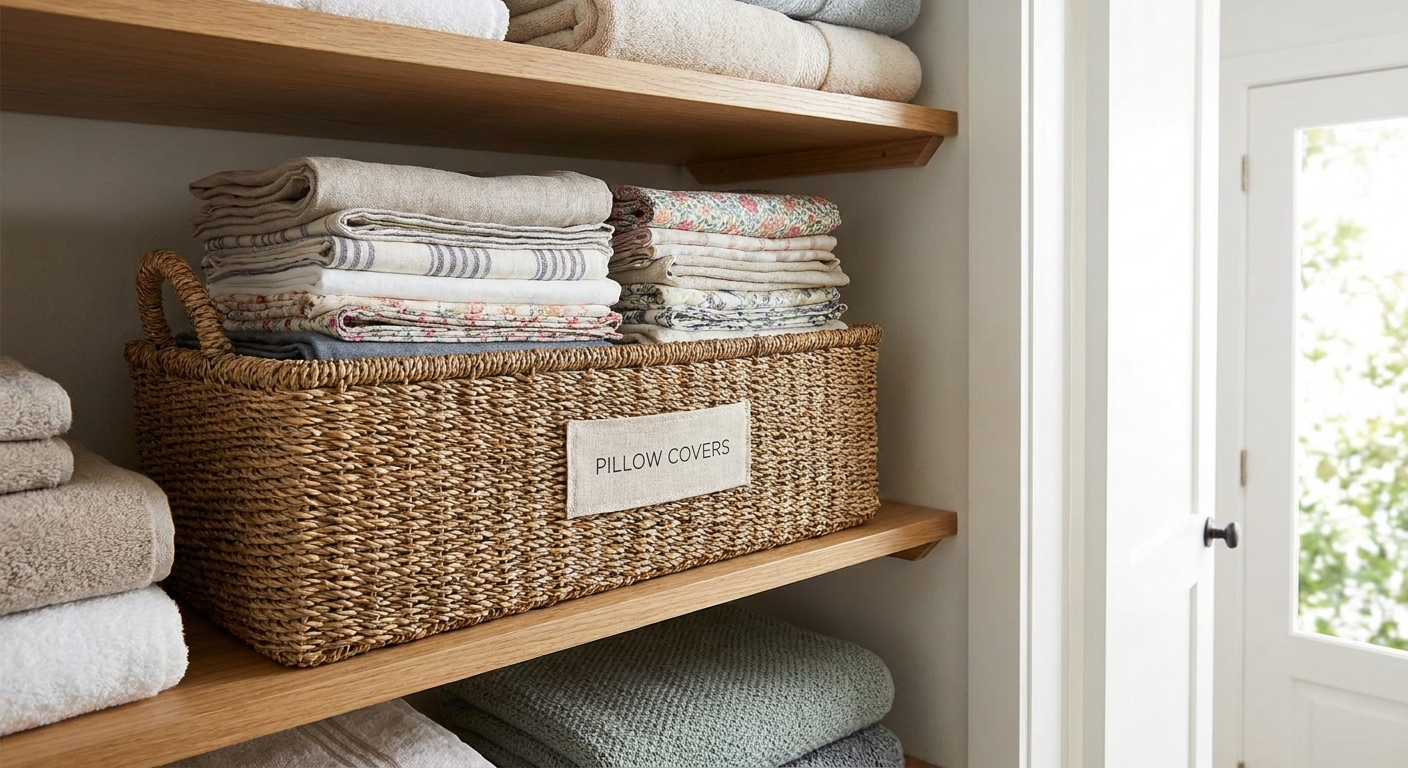
- Assign one shelf or bin for “pillow covers only.”
- Fold covers into rectangles about the size of a dish towel.
- Store upright like files, so you can flip through without unstacking.
- Keep inserts elsewhere (or better, keep just 1 to 2 inserts total).
If your home is short on storage overall, you will probably like our Small Spaces guide too. It is full of the kind of little systems that keep daily clutter from multiplying.
Easy fabric ideas for every season
- Spring: light cotton in soft florals, gingham, or pale stripes
- Summer: ticking stripe, chambray, or linen blend for a breezy texture
- Fall: warm plaids, rust tones, or heavier cotton like duck cloth
- Winter: velvet, brushed cotton, or deep solids that feel cozy
One caution from my own trial and error: if you pick a directional print (words, trees, candy canes), buy a little extra fabric so you can keep the pattern upright on both back panels.
Troubleshooting
My cover is too tight
- Double-check you cut the front at 19 in × 19 in (not 18 × 18).
- Make sure you used a 0.5 in seam allowance, not 5/8 in.
- Bulky fabric can shrink the finished interior space slightly. Pressing seams open helps.
The envelope opening gapes
- Confirm you hemmed the correct edge on each back panel (one 19-inch edge).
- Make sure the hemmed edges overlap at center and are not accidentally spread apart when pinning.
- If you want extra security, add a hidden snap or a small piece of hook-and-loop tape, but most people do not need it with a 4-inch overlap.
My corners look rounded
- Clip corners closer to the stitching line (without cutting stitches).
- Push corners out gently with a blunt tool, then press.
Care tips
- Prewash your fabric before sewing to prevent surprise shrinking later.
- Remove the insert before washing the cover.
- Wash cold or warm based on your fabric, and air dry or tumble low.
- Press after drying for that crisp, tailored look.
One last cozy win
If you are trying to make your home feel more put-together without adding more stuff, interchangeable covers are one of my favorite “small effort, big impact” habits. You get the seasonal refresh, but your storage stays calm.
And if your next project is organizing what you already own (instead of buying more bins), start with our Home Decor guide. It is full of simple, livable ideas that work in real homes with real messes.