
Vintage Crates as Modular Stackable Shelving

I have a soft spot for vintage wooden crates. Maybe it is the farmhouse charm, maybe it is the fact that in my tiniest studio apartment they were the only “bookcase” I could afford and carry up three flights of stairs by myself. Either way, crates are one of those rare thrift finds that can look intentional and still work hard.
The key is treating them like modular shelving, not random boxes piled up. With a little prep and the right way to stack and mount, old apple crates can become a custom bookcase that fits awkward walls, tight corners, and growing collections.
One quick reality check before we start: crate sizes (and strength) vary a lot. Most vintage produce crates I see land somewhere in the 12 to 18 inch range per side. A sturdy crate can handle a reasonable row of books, but I always do a quick load test before I trust it with my favorites.
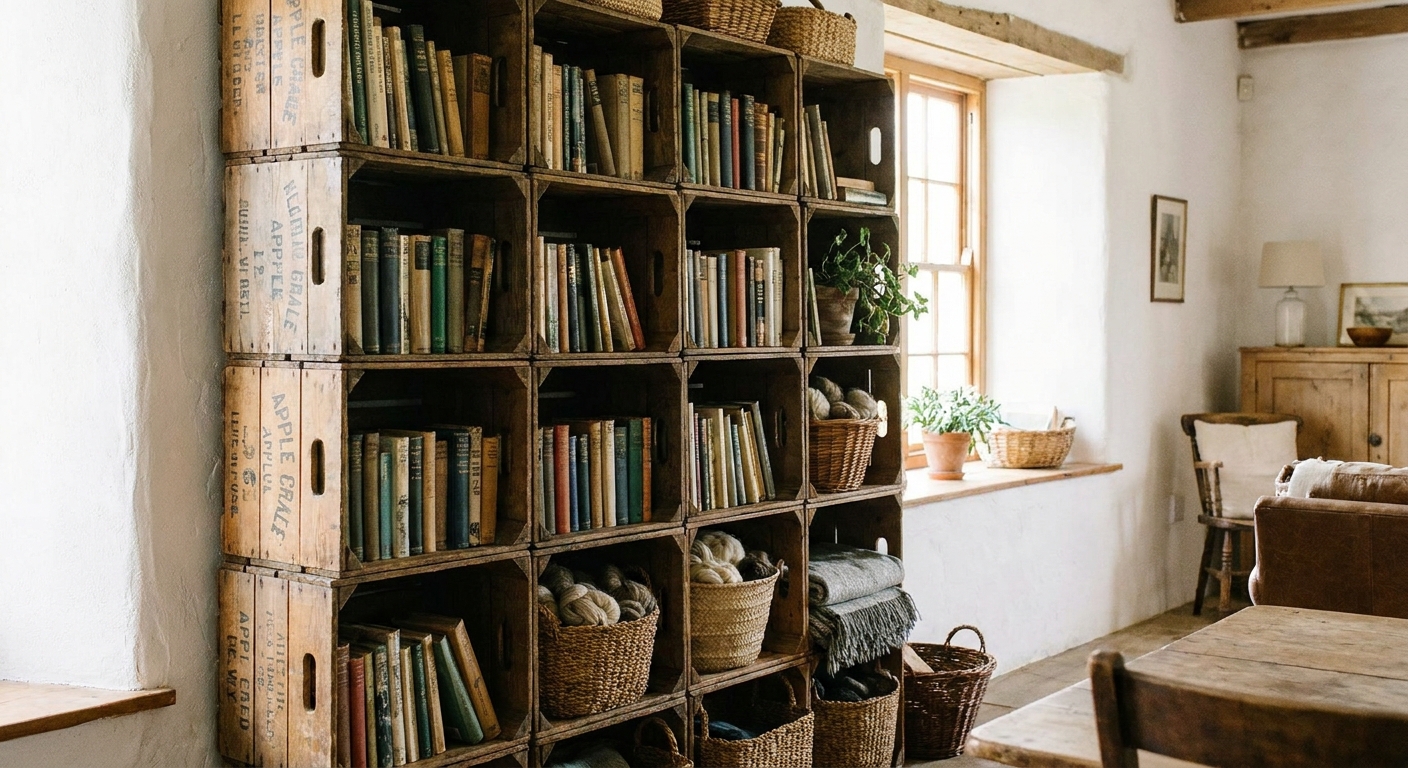
Start with the right crates
Not all wooden crates are created equal. Some are sturdy enough for books, others are basically decorative once you look closely at the joints.
What to look for
- Solid corner joinery: nailed or dovetailed corners are usually stronger than stapled corners, especially once you start stacking weight.
- Thicker slats: if the sides flex when you squeeze them, they are more likely to sag under a load.
- Similar dimensions: “modular” works best when crates are close in height and depth.
- Flat bottoms: wobble is a dealbreaker for stacking.
A quick safety check (worth doing)
Run your hand along every edge. If you get splinters immediately, plan on sanding. If you see black staining, do not panic automatically. It can be age, soot, or tannins, but if it is paired with softness, fuzz, or a musty smell, I pass. You do not want to bring active mold into your home, especially if the shelving will live in a bedroom or kids’ space.
If you are going for a true farmhouse look, slight scuffs are fine. Structural issues are not.
One more thing: unknown history
Old orchard and storage crates can carry odors or residues from whatever they held or where they sat. If the origin is truly unknown, I avoid using them for food, pantry items, or kids’ toys. When I do bring them home, I clean, let them dry completely, and seal them, especially if they are going into a bedroom.
Prep crates so they look intentional
This is the part people rush, and it is exactly why crate shelving sometimes looks like a garage pile instead of a finished bookcase.
Basic prep steps
- Remove old nails and staples: use pliers and a small pry bar, then tap stubborn bits flush with a hammer.
- Sand for touchability: start with a medium grit to knock down splinters, then finish with a finer grit on corners and handles. You do not need furniture perfection, just “no one gets hurt.”
- Clean: vacuum dust out of the cracks, then wipe with a barely damp cloth and let dry fully. If a crate is grimy, a mild dish soap solution on a cloth works better than soaking it.
- Optional finish: a clear matte sealer keeps splinters and dust down while keeping the vintage tone.
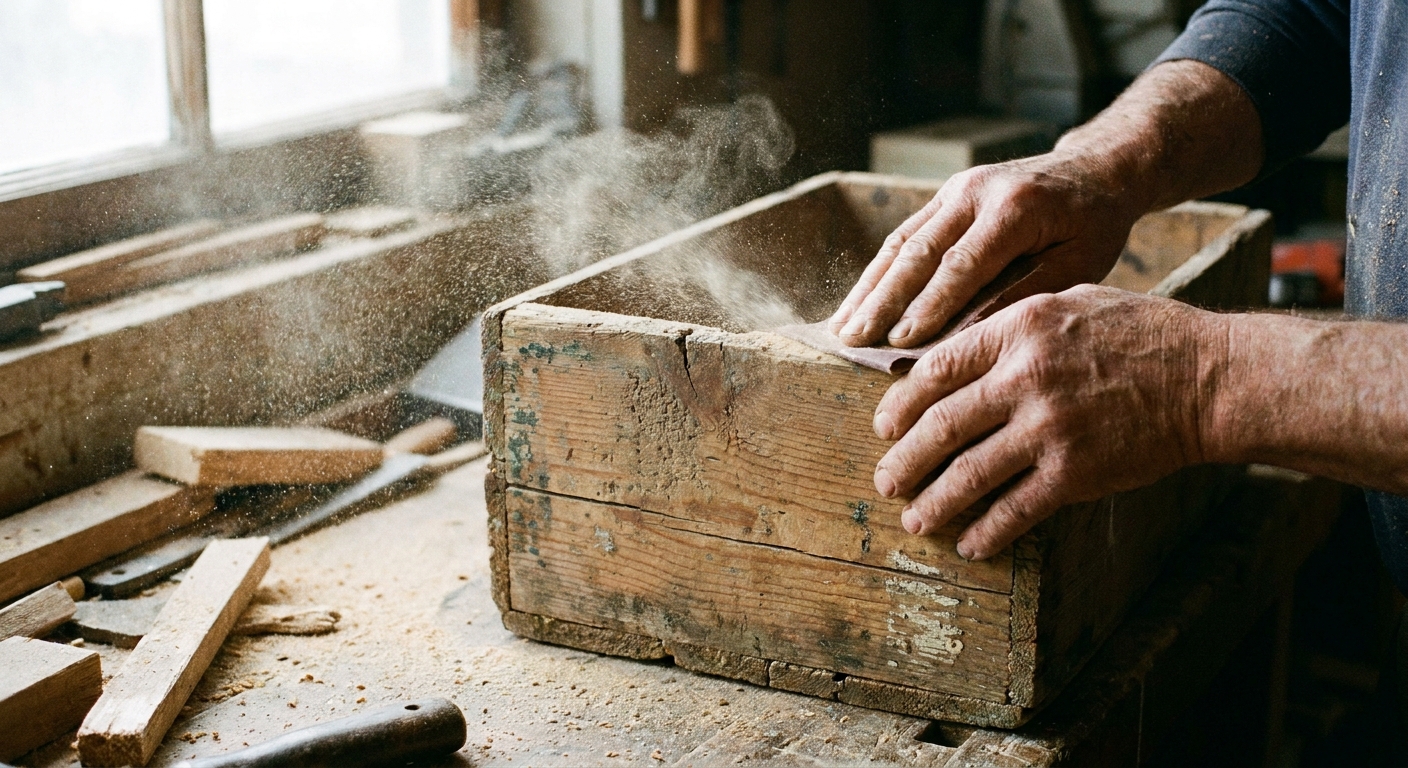
3 crate shelf builds that work
When I am planning crate shelving, I decide one thing first: do I need this to be movable, anchored, or framed? Here are the setups I use most.
1) The simple stack
This is the classic “crates as cubes” look. You stack crates like building blocks, rotating some horizontally and some vertically for variety.
- Best for: lightweight decor, folded blankets, toys, and some books if crates are sturdy.
- Farmhouse bonus: mixing orientations looks collected and relaxed, not matchy.
How to make it safer: Use a non-slip shelf liner or thin rubber pads between crates to reduce slide. Add felt pads under the base crates if you are on wood, vinyl, or tile. Then anchor the whole stack to the wall if it is taller than it is wide. More on anchoring below.
2) The staggered stack
If you have a narrow wall where a normal bookcase feels too heavy, try a staggered shape: two crates on the bottom, one centered on top, then two again. It reads airy and casual, especially in entryways and dining nooks.
- Best for: baskets, cookbooks, plants, mail drop zone supplies.
- Tip: keep heavier items low. Use upper crates for lighter, prettier stuff.
3) The framed modular bookcase
If you want a crate bookcase that feels like “real furniture,” build a simple outer frame from 1x2 or 1x3 boards and slide crates inside like cubbies. This keeps everything square and prevents shifting over time.
- Best for: lots of books, kids’ rooms, craft storage, and high-traffic spaces.
- Why it works: the frame carries the alignment and adds stiffness so the crates are not doing all the structural work.
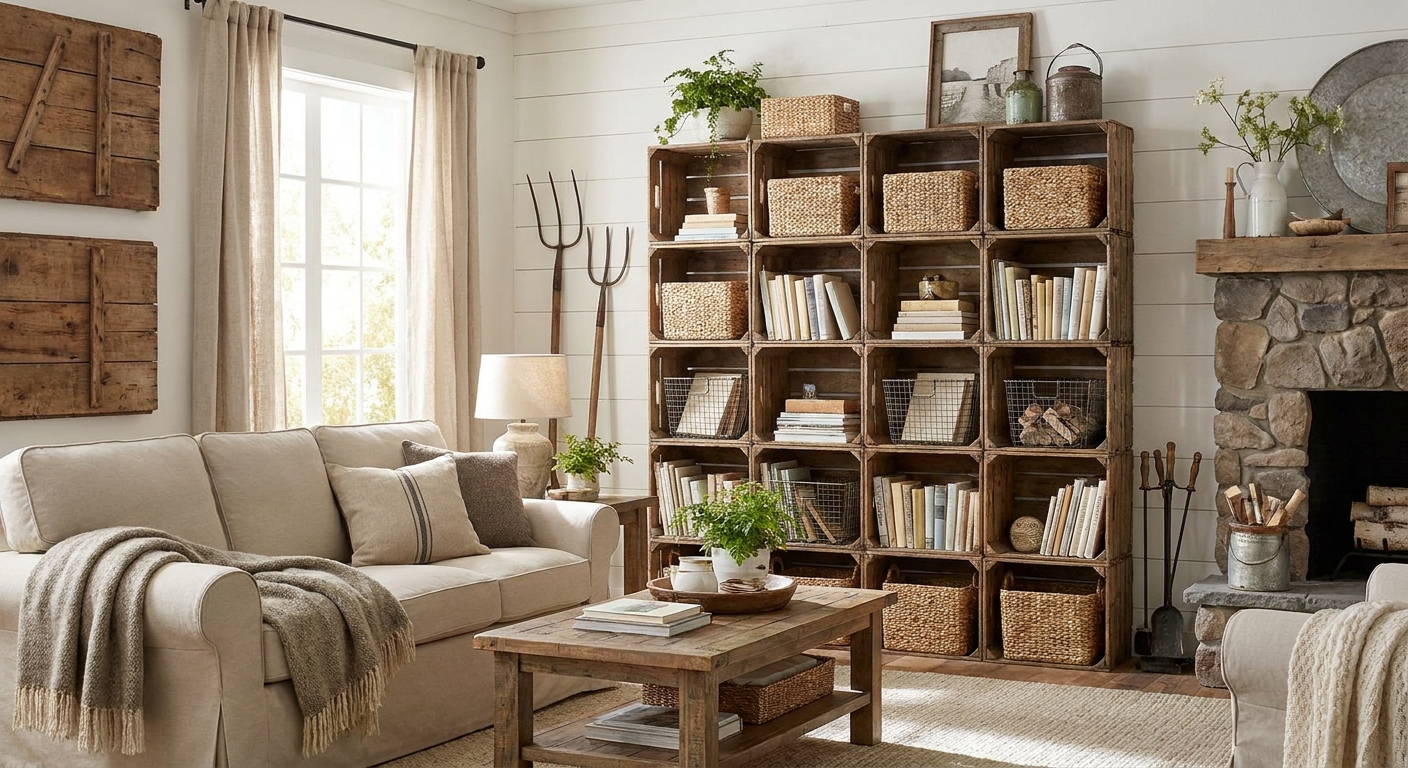
How to stack crates securely
After living through one small “crate avalanche” years ago, I am a little more serious about stability. Crates are light, which is great for moving, but it also means they shift if you bump them, especially on slick floors.
Rule of thumb: base wider than the top
If your shelf is going above chest height, aim for a footprint that is at least as wide as it is tall. Tall, skinny stacks are the ones that tip.
Do a quick load test
Before you commit to a layout, put weight in one crate while it is on the floor. Books are perfect for this. If you see bowing, hear creaking, or feel the joints shifting, use that crate for lighter storage or retire it.
Connect crates to each other
For stacks that will stay put, you can join crates together so they act like a single unit.
- Inside corner braces: small L-brackets placed inside where two crates meet. They are hidden and strong.
- Flat mending plates: useful on the back edges if your crate backs are flush.
- Wood screws through shared slats: only if the wood is solid and not splitting. Pre-drill to avoid cracking.
Hardware note from hard-earned experience: choose screws that are short enough not to blow through thin slats. If you are unsure, start shorter, pre-drill, and check the backside before you sink the screw all the way.
Mind the direction of the slats
If the crate is made of thin slats, orient it so the weight has the shortest span to travel. A simple way to think about it is this: you want books pressing down toward the sturdier side rails, not forcing one long, thin slat to act like a shelf plank. Rotating the crate often reduces sag.
How to anchor crate shelving
If kids, pets, or a busy hallway are involved, I treat anchoring as non-negotiable. Even if you do not have toddlers, tall furniture can tip when you pull out a heavy book or a storage bin.
Anchoring a stacked crate unit
- Use anti-tip furniture straps or L-brackets at the top of the stack.
- Hit studs whenever you can: if your crate unit is holding books or anything dense, stud attachment is the safest route.
- If studs do not line up: consider adding a backer board or cleat that spans two studs, then fastening the crate unit to that support. Drywall anchors vary widely, and I treat them as a last resort for light loads only.
- Anchor the unit, not just one crate if multiple crates are joined together.
Hanging a single crate like a wall cubby
A single crate turned on its side makes a lovely little farmhouse wall shelf for cookbooks, plants, or bathroom storage.
- Add a backer board if the crate’s back is open or uneven. It gives you a solid surface to mount through.
- Mount through the crate into studs with appropriate screws, or use heavy-duty anchors only for light decor if studs are not available.
- Keep weight limits realistic: a wall-mounted crate is great for decor, not for a full row of textbooks.
If your goal is more wall-based storage in general, you might also like my step-by-step on styling floating shelves without losing floor space.
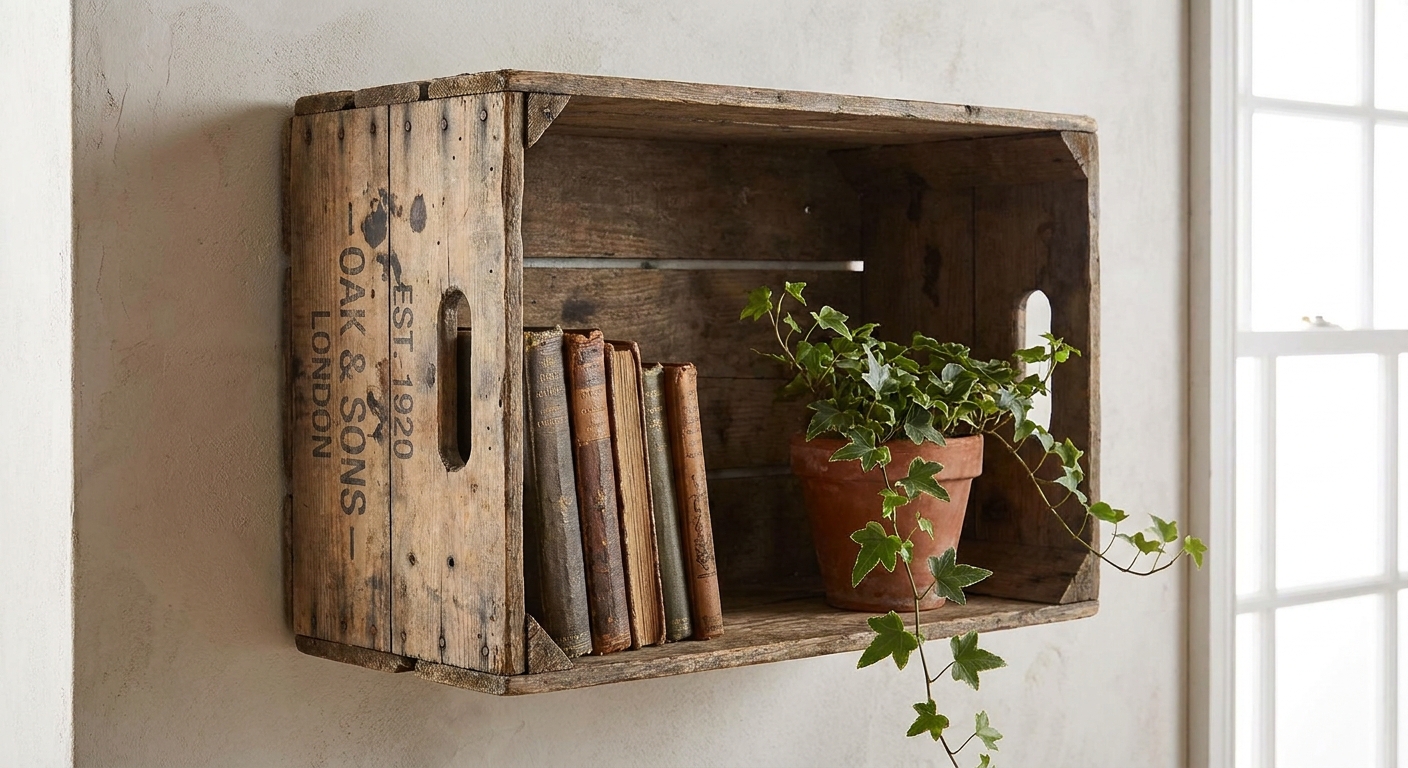
Make it feel farmhouse
Farmhouse style is cozy, practical, and a little imperfect, but it is still curated. These small choices help crate shelving feel like it belongs.
Easy finishing touches
- Keep the wood tones consistent: if you have mixed crates, lightly sand and seal them so they read as a set.
- Add labeled baskets: woven or canvas bins hide clutter and soften the rough wood texture.
- Mix closed and open storage: one or two “messy” crates with baskets, one or two styled crates with books and pottery.
- Use negative space: not every cube needs to be full. Empty space is part of what makes a small home feel calmer.
If you are building a whole room around this look, my farmhouse style guide is a helpful starting point for keeping it warm and simple instead of cluttered.
Where crate shelving works best
Entryway drop zone
A short stack of 2 to 4 crates works as a landing spot for shoes, dog leashes, and hats. If you need a full routine for that space, I walk through it in planning a small entryway drop zone.
Kids’ book nook
Crates can be wonderful for picture books because many are naturally shallow, but measure first. You want the book spines supported with minimal overhang so little hands do not turn the whole stack into a tug-of-war. Keep the heaviest books low and anchor the unit, then use the top cubes for plush toys or puzzles.
Small living room storage wall
If you have a blank wall but not much floor area, a low, wide crate setup can act like a media console and bookcase hybrid. For other storage-first furniture swaps, see coffee table alternatives with hidden storage.
Common problems and quick fixes
“My crates wobble when stacked.”
Check the floor first. If the floor is uneven, add felt pads or rubber shims under the base crates to level. Then add non-slip padding between crates and join them with brackets.
“The stack keeps drifting apart over time.”
This happens a lot on smooth flooring. Joining crates to each other is the cure. Even two discreet brackets per seam makes a big difference.
“I want it to look less rustic.”
Sand a bit more thoroughly, seal with a clear matte finish, and keep styling clean: fewer objects, more baskets, and a consistent color palette.
“Can I use crates in a bathroom?”
You can, but humidity is rough on vintage wood. Seal thoroughly, keep them away from direct splash zones, and do not overload them. If you need more bathroom-specific ideas, over-the-toilet storage that keeps bathrooms looking open has safer options for damp spaces.
A simple weekend plan
- Measure your space: width, height, and how far you can project into the room without creating a traffic jam.
- Choose a layout: low and wide for stability, or framed if you need a taller bookcase.
- Prep all crates at once: sanding and sealing in one batch makes them look cohesive.
- Do a dry stack: arrange crates empty, step back, then tweak the pattern.
- Connect crates: brackets or plates, especially in high-traffic rooms.
- Anchor to the wall: particularly if taller than chest height or loaded with books.
- Load thoughtfully: heavy items low, lighter items up high, and leave a little breathing room.
Crate shelving is one of those projects where “good enough” is genuinely good enough. The win is a storage piece that fits your home, your budget, and the reality of daily life, not a showroom fantasy.