
Bookshelves as Room Dividers in Studio Apartments

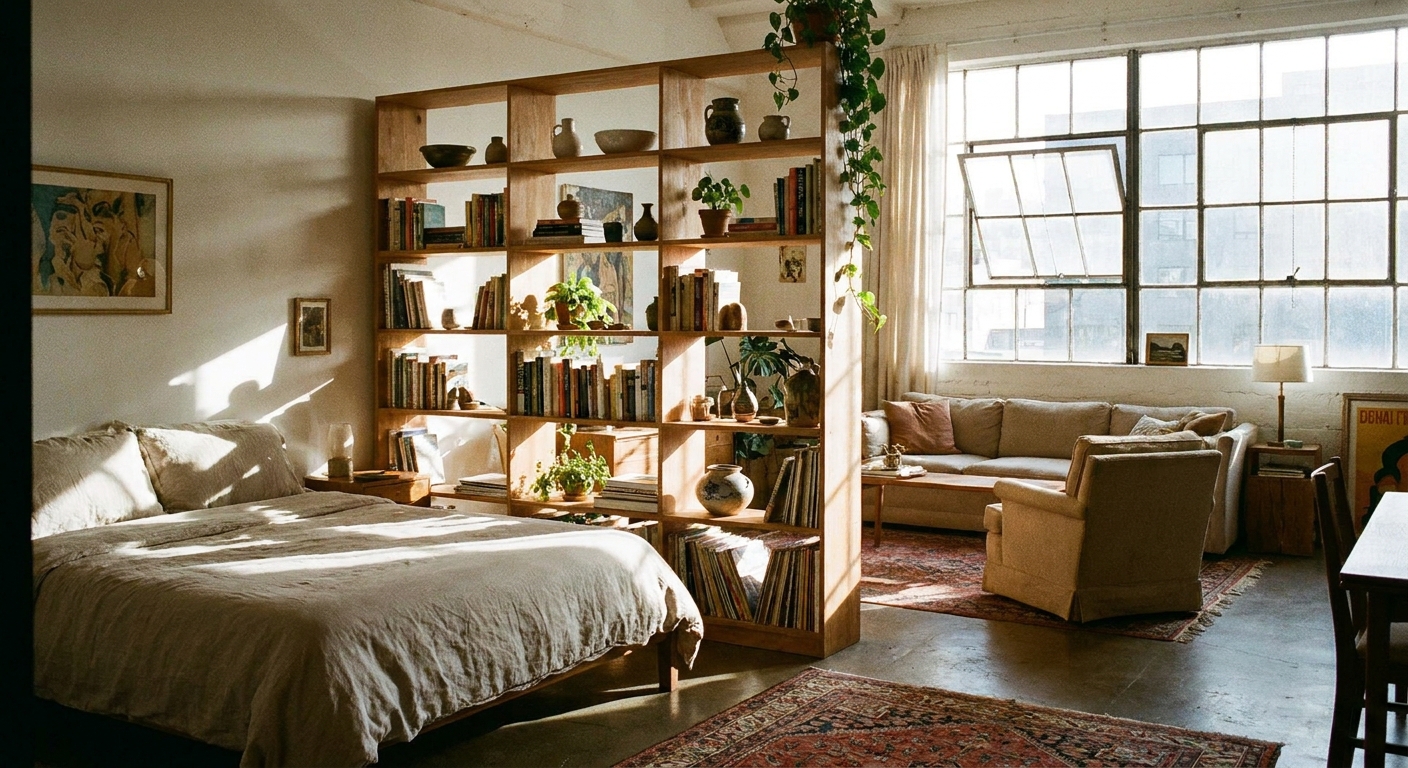
I lived in a studio once where my bed was basically in my kitchen’s line of sight. Cute in theory, not so relaxing at bedtime. The first time I used a bookshelf as a room divider, it felt like I’d gained a whole extra room without losing the airy, open-plan vibe.
A well-placed freestanding shelving unit can create a clear sleep zone, hide visual clutter, and still let natural light travel. The trick is choosing the right shelf, placing it with intention, and treating safety like step one, not an afterthought.
Why a bookshelf divider works (often better than a curtain)
Bookshelves are one of my favorite studio dividers because they do three jobs at once: they separate space, they add storage, and they create a “wall” that feels intentional instead of temporary.
- Zoning without construction: You get a sleeping nook and a living area without putting holes in walls or asking a landlord for permission.
- Better daily flow: Your brain can stop reading “bed” as the whole apartment, which can help you relax and focus.
- Natural light still moves: Open-back shelves and thoughtful spacing keep your studio from feeling like a cave.
- Storage where you need it: In small homes, using vertical storage is usually the fastest path to less clutter. If you love this approach, the mindset is in our Small Spaces guide.
Pick the right shelving unit for dividing
Not every bookcase is a good room divider. In a studio, you want something stable, the right height, and visually light enough to keep the space open.
Best shelf styles for studios
- Open-back cube storage: Great for light flow and easy access from both sides.
- Etagere-style shelving: Open frame units (often metal or wood) that look airy and take up less visual space.
- Low, long shelves: If you hate blocking windows, a shorter unit can still define zones while keeping sightlines open.
What I avoid
- Very narrow, very tall units: They tip more easily, especially on plush rugs.
- Flimsy “display-only” shelves: If it wobbles in the store, it will wobble more at home.
- Anything that blocks your main path: A divider should guide traffic, not create a daily obstacle course.
A sizing rule that keeps things livable
If you can, aim for at least 30 to 36 inches for a primary walkway around the divider. In very tight studios, about 24 inches can work in low-traffic spots, but it will feel tight, and it is not accessibility-friendly.
Placement layouts that make studios feel bigger
Before you move furniture, stand in your doorway and look at what you see first. That sightline matters. I like to place the divider so it blocks the bed from immediate view, but does not block the window or the best light.
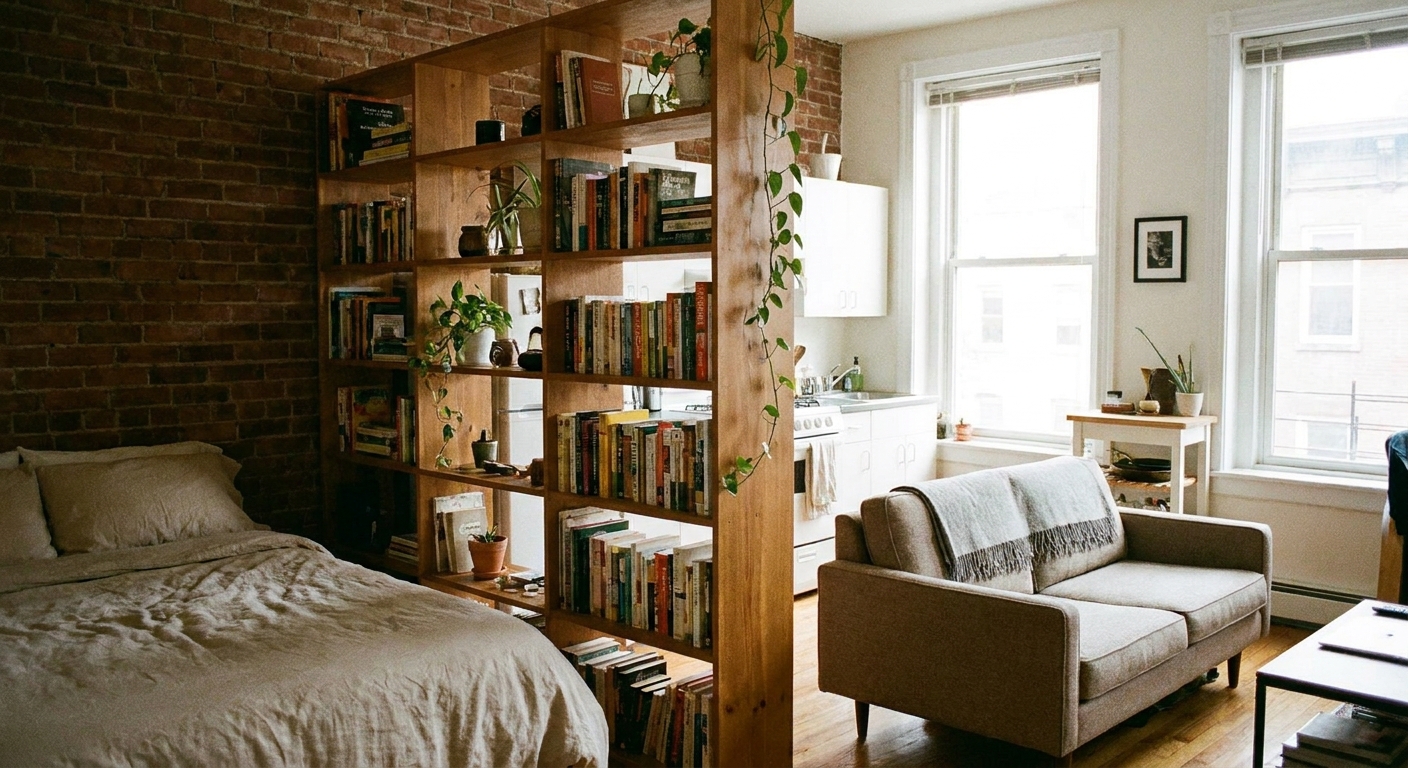
Layout 1: Perpendicular to the wall
Place the shelf so it sticks out from a wall, like a short hallway wall. This makes a natural sleep zone behind it, and the rest of the apartment stays open.
- Works well when the bed is in a corner.
- Keeps light moving because the divider is not spanning the entire room.
- Gives you a spot for a narrow nightstand or hamper behind the divider.
Layout 2: Parallel to the bed
Put the shelf along the side of the bed so your bed area feels like a defined room. This is great when you want the bed hidden from the sofa area.
- Best with a unit that is not too deep so you do not squeeze the walkway.
- Consider leaving one end open so you can enter the sleep zone without a weird bottleneck.
Layout 3: Floating divider behind the sofa
If your bed is already tucked away, place the shelf behind your sofa to define a living room zone. It reads polished and intentional, especially if your sofa faces a wall-mounted TV.
- Keep a few inches (around 3 to 4 inches) between the sofa back and the shelf if you want curtains or cables to run cleanly.
- Use closed baskets on the sofa side so the living area looks calm.
Layout 4: Split the room, keep the window side open
If the window is on one side of the studio, avoid putting a solid wall right across it. Instead, stop your divider short of the window line so daylight can reach both zones. If you are trying to brighten a darker studio, the ideas in this mirror placement guide pair beautifully with a shelf divider.
Safety first: keep a divider from tipping
I am going to be firm here because I have kids, a dog, and a deep respect for gravity. A shelf used as a divider gets bumped. It gets leaned on. It gets climbed. Treat it like a tall piece of furniture that needs real stability.
Anchor whenever you realistically can
- If one end is against a wall, anchor it. Use the anti-tip hardware that comes with the unit.
- If it is truly freestanding (floating): choose a lower, wider unit, avoid top-heavy styling, and place it where it will not get hip-checked all day.
- Extra caution: If you have kids or big pets, or you live in an area with earthquakes, I strongly prefer an anchorable setup or a shorter unit that is inherently harder to tip.
Weighting and loading rules I use
- Heavy items low: Books, tools, and anything dense belong on the bottom shelves.
- Light items up high: Baskets, linens, and decor should live higher.
- Keep the top mostly clear: A tall, top-heavy shelf is a tip risk and a dust shelf.
- Do a wobble test: Give it a gentle shake after loading it. If it moves, adjust the feet, reduce top weight, and reconsider the spot.
Watch rugs and uneven floors
Studios often have older floors that slope a bit. If your shelf sits half on a rug and half on bare floor, it can twist and wobble. Either move it fully onto one surface or use furniture grippers and leveling feet so it sits flat.
Do not block safety paths or airflow
- Keep clear access to your exit.
- Do not block heaters, radiators, or vents.
- Leave space so doors fully swing and you can reach closets.
- After placement, stand in both zones and notice airflow. If one side suddenly feels stuffy, you may have created a dead zone that needs more gap or a shorter divider.
How to keep light flowing
This is the difference between cozy zones and why is my apartment suddenly dark.
Use open storage strategically
- Open-back shelves: They let light pass through and keep the room visually connected.
- Alternate open and closed: Closed bins on the lower half hide clutter, open styling up top keeps things light.
Leave breathing space at the edges
I rarely push a divider shelf flush to the ceiling or fully wall-to-wall. Even a small gap at the top or side helps light travel and makes the divider feel like a design choice, not a barricade.
Make both sides look intentional
A divider is visible from at least two angles. If you only style one side, the other side will look like the back of a stage set, and you will feel it every day.
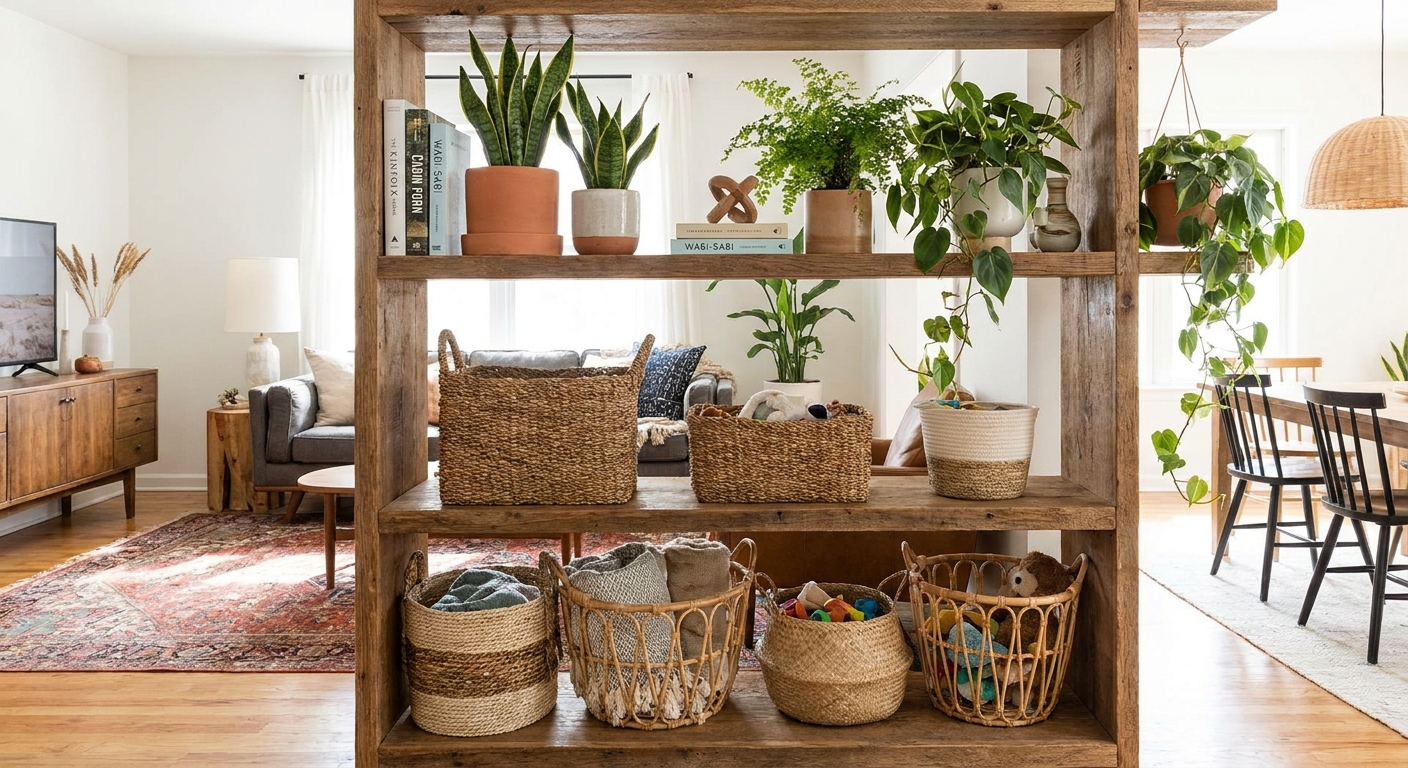
Styling formula that reads calm
- Bottom third: Closed storage (baskets, bins, lidded boxes) to hide daily mess.
- Middle: Practical items you grab often, like a small tray for chargers or a stack of books.
- Top: A few lighter decor pieces, like a plant, a framed photo, or a lamp.
Privacy reality check
Open-back shelves do not create true privacy. They create separation and visual calm, but you can still see movement and light through them. If you need more coverage for roommates, guests, or video calls, treat the shelf like a filter.
- Use fabric bins or woven baskets at eye level.
- Add a few larger plants to soften sightlines.
- Group books and boxes to create more solid sections without stuffing every cube.
Contain the small stuff
Studios look messy fast because everything is always on display. I love using soft containers inside open shelving to prevent that junk-drawer-on-a-shelf feeling. If you enjoy simple sewing projects, check out my tutorial on making a DIY fabric storage basket for shelf clutter.
Turn the divider into a real system
In my house now, the difference between organized and looks organized for five minutes is having a home for the stuff that lands in your hands daily. Your divider shelf can quietly do that work.
Ideas that work in real life
- Studio entry drop zone: One cube for keys, mail, and dog gear. If your front door opens into everything, this entryway drop zone plan helps.
- Bedside storage without a nightstand: A cube for books, hand cream, and chargers on the bed side.
- Living room media shelf: Hide remotes, game controllers, or Wi-Fi gear in lidded boxes.
- Linen and overflow: Rolled towels or extra bedding in baskets on the bottom.
Power and cords
A divider often lands where outlets are not. If you run power to a lamp or charger, keep it safe and boring.
- Route cords along the baseboard side when possible, not across walkways.
- Use a cord cover if anything has to cross a path.
- Do not tuck extension cords under rugs where they can overheat or become a hidden trip hazard.
Common mistakes
- Mistake: Putting the divider directly in front of the window.
Fix: Shift it so the window side stays more open, or use a lower shelf. - Mistake: Overfilling every cube.
Fix: Leave negative space. In small rooms, empty space is part of the design. - Mistake: Making the bed the first thing you see.
Fix: Rotate the shelf perpendicular to a wall to block the bed sightline from the entry. - Mistake: Wobbly shelf on a rug edge.
Fix: Move it fully onto one surface, add grippers, and load heavier items on the bottom.
Quick checklist
- Does it leave a comfortable walkway, ideally 30 to 36 inches?
- If your space is tight, is the 24-inch pinch point truly low-traffic, and acceptable for your household?
- Can you still open doors, drawers, and closets fully?
- Is it stable on your flooring and rug situation?
- Is the shelf loaded heavy-on-bottom, light-on-top?
- Does it block less light than a solid divider would?
- Have you styled both sides so it looks finished from every angle?
If you get those basics right, a bookshelf divider is one of those small-space upgrades that genuinely changes how your studio feels. Not bigger, exactly, but calmer. More livable. Like each part of your day has a place to happen.